ZITS: 5 Break-Glass-In-Case-Of-Emergency Tricks

As I sit here with a blemish so large that I may end up naming him (Thor? Steve? Brutus?), about to get my Kenalog Injection, it occurred to me that I may want to share a few of my emergency acne treatment ideas. Yes, it's true. Even the skincare-obsessed (and skincare professional) will get the occasional blemish. If you are like me, you might have a fabulous dermatologist in your back pocket.  A quick and almost-painless injection of a steroid and will have you like new in 24-48 hours. What I have is called Kenalog- it’s a glucocorticoid corticosteroid meant for intralesional, (meaning: in-the-zit-itself), injection.

This is one of the best 'break glass in case of emergency' treatments before weddings/prom/reunions. There's risk of a scar when you have these injections, so talk it out with your doc. Sometimes the blemish itself threatens a scar, like when it's big enough to have its own name. So depending on your situation, despite the risk you may still opt for the shot.

Don't have a derm? No time for an appointment?

Here are 5 of my top at-home emergency blemish treatments:

Acne Arsenal: Here are a handful of my fave blemish-fightersOver-the-counter hydrocortisone: 

(I prefer the cream version, but it's also available in an ointment form) you can apply hydrocortisone 1% a couple times a day for up to 7 days to help reduce inflammation and redness.

Ice, Ice, Baby (better yet, cool packs):

Reduce inflammation by holding a cool pack on for 15 minutes at a time, or as long as is comfortable. It's good to do while you're checking email or watching a movie.

Don't forget your 20% off coupon! Super Cutie Cool Packs at Bed, Bath, & BeyondTretinoin (aka Retin-a):

If you have some of this (generally for use all over the facial skin at night) I have found that if you use a dab during the day, it can help to flatten things out a bit faster. Tretinoin is typically for anti-aging and /or acne treatment and prevention- it's a power house prescription. If you don't happen to have any laying around, Salicylic Acid is always a good one to dry and flatten things out. I love Obagi's Clenziderm MD Pore Therapy.

Anti-histamines:

Try taking Benedryl or Claritin, if its appropriate for you (i.e, your md says you're good to go) ... It's all about reducing the inflammation!

Um, yuck. Murder those anaerobic bacteria jerks with BPOBPO:

Benzoyl Peroxide products are awesome for prevention and treatment of the pustule-type of lesions… the yucky ones with the ‘head’ on them. This is because BPO works by bringing oxygen in to murder the anaerobic (O2-hating) bacteria in the follicles. A crazy awesome Rx version is called Acanya, otherwise my fave and most-recommended BPO is Obagi's Therapeutic Lotion.

Of course, always follow the recommendations of your own skin care professional or physician- and may the force be with you!

Fabulous Lashes without Batting an Eye?

I’ve been getting a lot of questions about Latisse lately, so I thought I’d throw something together with my personal tips and some official information, too! 1)   Latisse rocks, but it’s $$$: Here’s a video of how I like to store and use my disposable brushes so you can get more use out of each package. This is considered off-label, meaning it’s not necessarily the way the product is labeled for use- so always do what your doctor or skincare professional recommends!

Click on the image to see the you-tube vid!2)   Let’s not get Crazy: I’ve heard of patients using a makeup brush to apply the product… I would NOT recommend this, as Latisse does not have a preservative in it. Hygiene is of course very important, especially with the eye-area, so stick with the disposables for sure.

3)   Night Owl: Only use Latisse at night, with your contacts out and makeup off. Contacts can actually absorb the product, so be sure not to cut corners here. Apply your eye products and treatment creams first, and Latisse will be the very last step.

4)   Browing out: An off-label use of Latisse is applying it to the eyebrows. I did that once for a period of time to experiment, and found that it would not grow hair where there wasn’t hair already, but that it did make individual brow hairs a bit darker and longer, too, contributing to a bit of a fuller effect.

5)   Changing Eye Color?!?: I think when patients hear this, they freak out and think their blue eyes could turn brown and vice versa- thankfully this is not the case.  To summarize, when Allergan did a 5000 patient study of the Lumigan version of this product (used IN the eye) for the treatment of glaucoma, there was a small percentage of people with hazel eyes that had darkening of the gold-flecks in their eye. This change was found to be lasting. If you have hazel eyes, consider if that would bother you, as it could be a risk… important to consider that it was only happening to a small % of the people using the solution IN the eye, like an eye-drop, which we are NOT doing with Latisse. Other eye colors have not been found to change or darken.

6)   No biggie?: There is a chance that you can get darkening of the lash line where you apply the Latisse, since it’s increasing melanin (and making your lashes darker!) it happened to me, but the trade-off for awesome lashes is just fine with me. It’s kind of a light pink, so it covers easily with a light shadow/I don’t even really notice it. Some of our patients who already have dark eye areas think twice about using Latisse. Thankfully, when you stop using it, it goes away… so no biggie if you ask me.

7)   Keep the Faith:  Latisse can take up to 16 weeks for full results… this is because when you first start using it, its treating the lashes that haven’t grown in yet. So, it can be hard to use a product every night when you don’t see much happening, but Latisse WORKS, so keep up the good work, and hang in there for fabulous lashes!

Here’s a link to Allergan’s Latisse page, please read up for full Rx info and more official business!

Practice Safe Sun: Faux Tanning

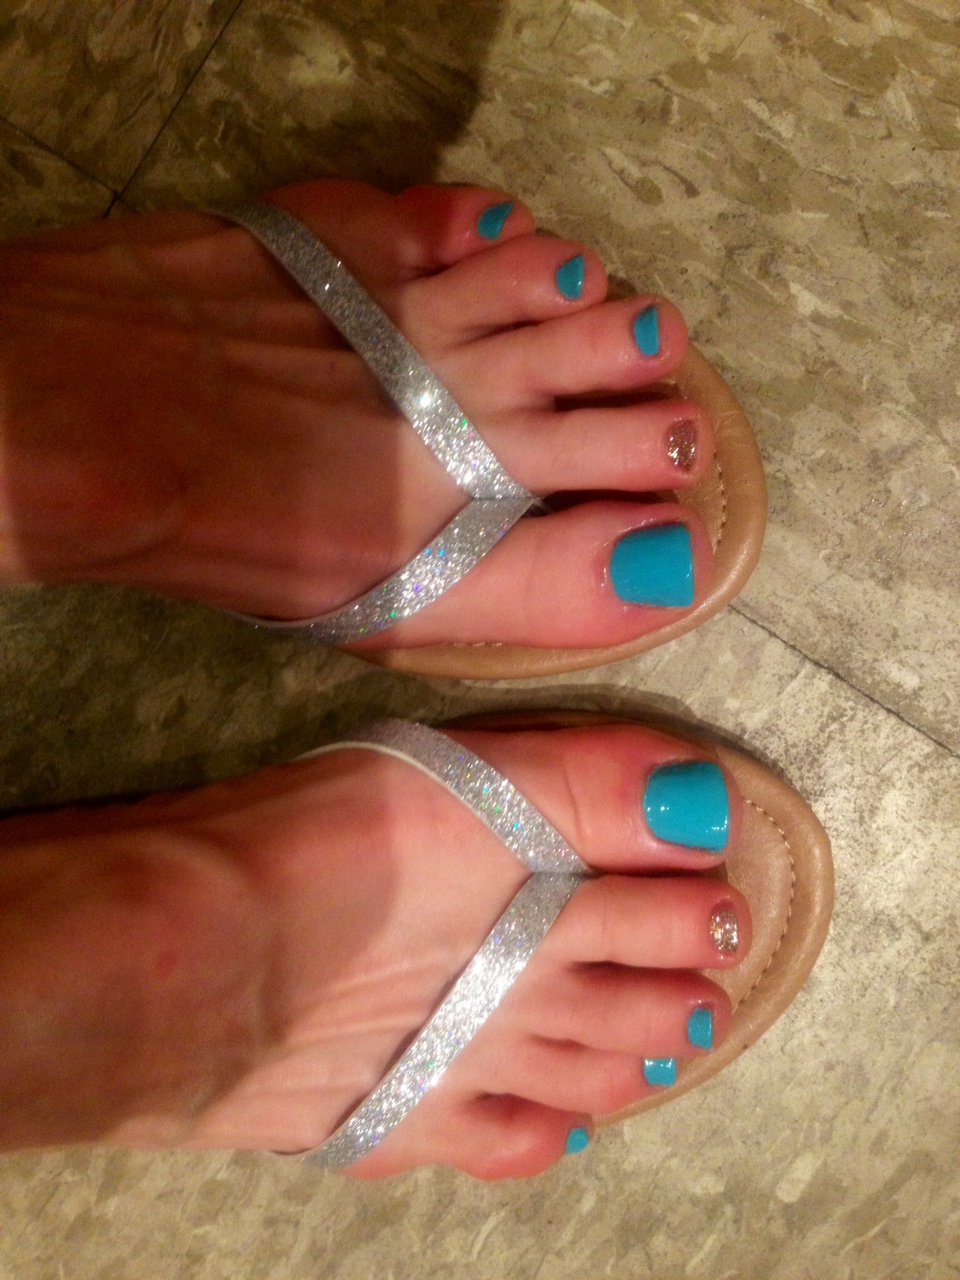
I just got home from the fabulous Cosmos Beauty Bar, the home of  -you guessed it- Cosmopolitans (and wine, and coffee, and martinis!) AND simultaneous high-quality beauty treatments by amazing professionals. This cutie pie place is located conveniently in my neighborhood in the suburbs of Chicago, and offers spray tans, waxing, and all kinds of fabulous nail services. Although I did not happen to imbibe today, I did indulge in a pedi and a spray tan… which got me thinking about spray tans, how they work, and why they rock. Don't look TOO close... but these runner's feet have been polished to the maximum extent of cute at Cosmos.

It seems that the first 'fake tan' was available around 1960, when Coppertone® came out with the first sunless-tanning product -- QT® or Quick Tanning Lotion. I understand that this was an orange-nightmare of sorts. Yikes.

Anyway, things have come a long way since then, and there are all kinds of formulations and application methods to suit your fancy. The ones that I have the most experience with are DHA self-tanners. DHA is actually a type of sugar. Who knew?

According to the FDA’s website: “One commonly used ingredient in these products is dihydroxyacetone (DHA), a color additive that darkens the skin by reacting with amino acids in the skin's surface”

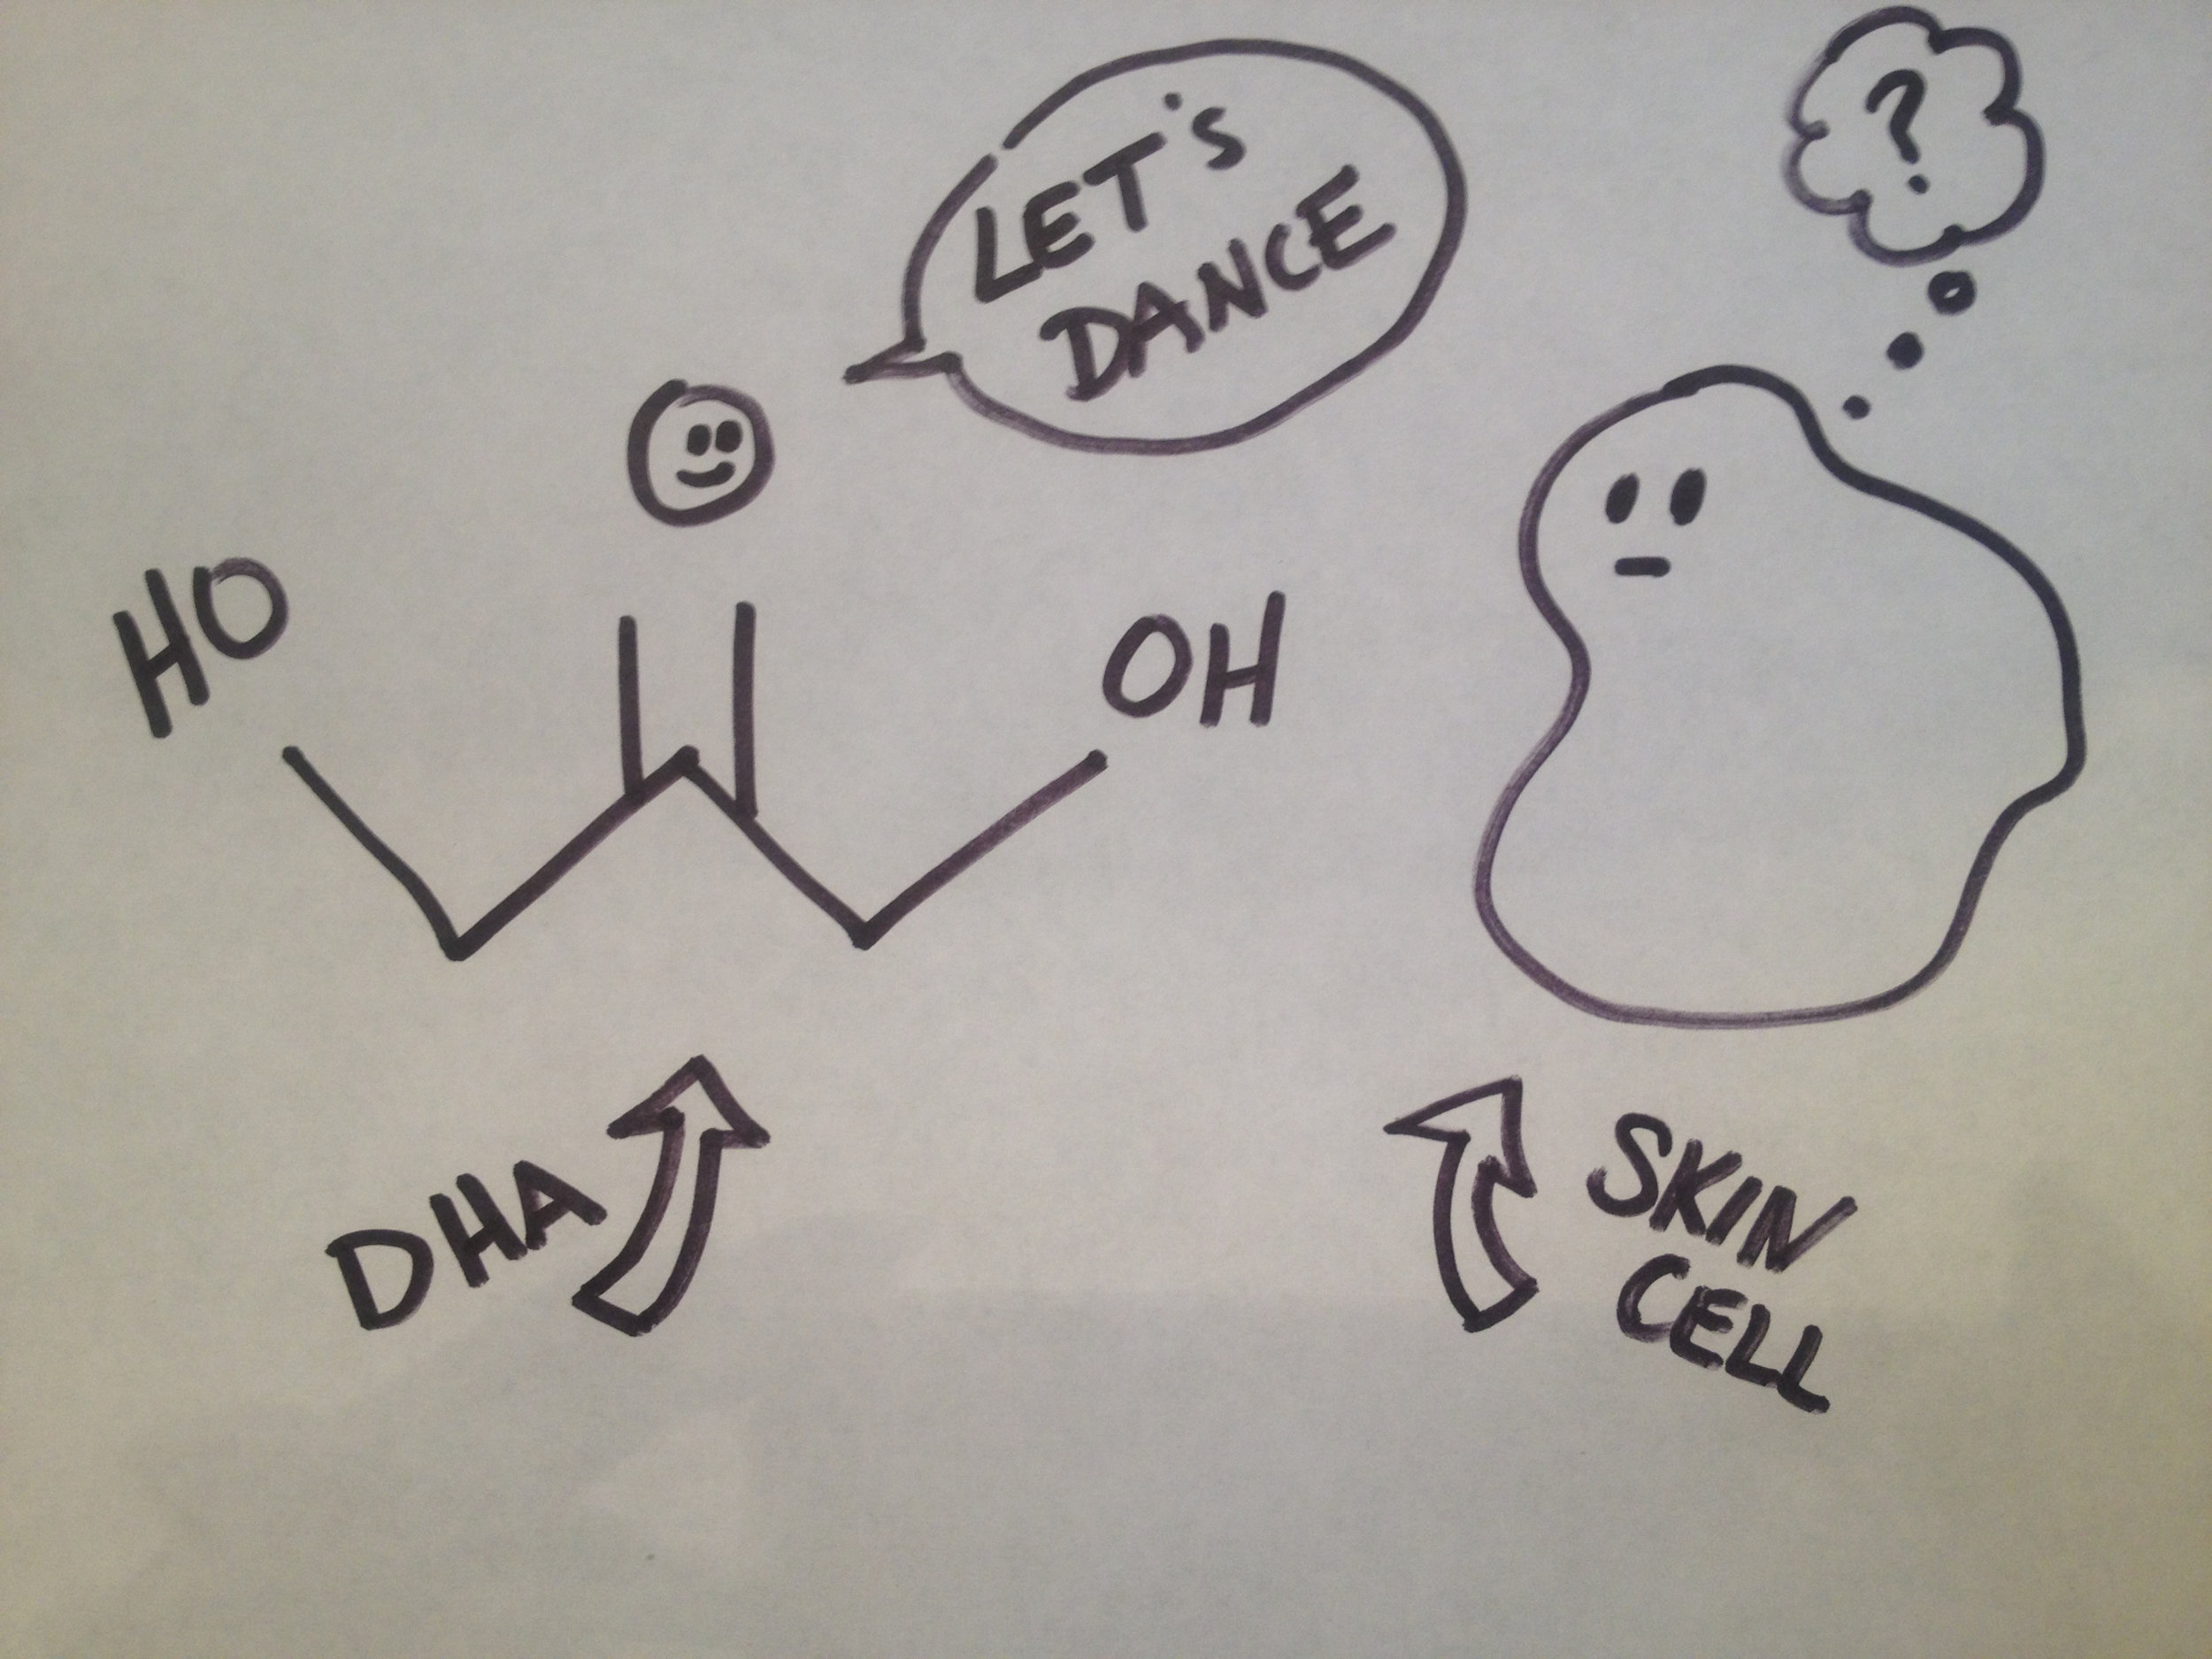
If you are having a spray tan, or spraying yourself (with a tan in a can), a fine mist of product containing DHA (Dihydroxyacetone) blankets the skin lightly. Lotion products also contain DHA. It turns out that DHA does not produce the same melanin as a "real tan" (by stimulating melanin levels), but it does create the look of a tan appearance by turning the upper layers of the skin brown. DHA activity only takes place in the upper layer of the skin (epidermis) as amino acid proteins and epidermis skin cells mingle and party.

Dihydroxyacetone parties with epidermal skin cells: "Epi-DAMN, girl! Let's Mingle!" (yes, I drew this!)

Typically, color develops somewhere between 2 - 24 hours from the application and the intensity is depends on how much DHA in the product. More DHA=More Brown.

If you’re having an “airbrush” tan, or a spray tan applied by an individual, it usually means that you’ll be in your undies in front of a stranger… but really, there’s nothing they haven’t seen… so try not to worry about it. It’s less than 10 minutes, and the result is AWESOME, custom, and usually really dang perfect.

If you go to an LA Tan, or similar tanning boutique, they will also offer a spray tan or UV-Free tan via a booth. This is more private, usually a bit cheaper, but not as flawless as the airbrush. Oh, and it feels fumy! I try to hold my breath as much as I can, but I’m sure the poor employee on staff does not want to find me passed out in there... so I do feel like I end up breathing some of it in- just a bit worrisome for me, but it’s still GOTTA be safer than UV tanning, so I’m still doing it. Take that, tanning beds!

If you’re a DIY-type, here are a few of my favorite at home self-tan products:

Playboy (yes, they have tanners!) Glitz Celebrity Sunless Spray …AMAZING. Love the lotion too, but you might want to try applying it with one of those disposable sponge brushes that painters use for corners… it’s pretty dark (scary) when it comes out of the bottle…

Victoria’s Secret Beach Sexy Instant Bronzing Shimmer Lotion

Fake Bake Airbrush Self Tanning Spray

Jergens Natural Glow+ Firming (I generally don’t bother with the fair to medium levels… go for the gold! Err, GOLDEN with medium/tan!) This is also awesome for maintaining a spray tan! Caution, this one has a bit more scent than the others in the line.

For Face: Clarins Face Self Tanning Mouse SPF 15… extra points for SPF, Clarins!

The take-away from today: It may take some trial and error (though we are much better off these days than in 1960!) but it's important to find a bronzer, a spray tan, or a self-tanner that works for you.

...because always remember, kids: we all need to practice SAFE SUN...  your skin will thank you!