BOTOX gets a "NEW" use... wink wink

Image Day before yesterday, (September 11 2013), the FDA made it official: BOTOX Cosmetic is now indicated for use in the lateral canthal lines, aka: crows feet. Why is no one losing their minds in celebration, you ask??

Up until now, the only FDA indication for BOTOX Cosmetic in the face has been the glabellar lines (the 11's that can form between your brows). BUT, it is often AMAZING in many other places... including those crows feet! How do we know, you ask?

...So, don't tell anybody, (shhhhh!) but just about every physician or nurse who performs BOTOX Cosmetic treatments has totally already been doing this. It's considered 'off-label", (like you're off-roading from the original smooth highway of labeled directions/indications) but BOTOX is done frequently in many other areas.

Even so, Congrats, Botox! We're happy the FDA agrees with what we totally haven't already been doing for years.

**Let's all turn and wink knowingly at each other here, completely free from crows feet**

BOTOX for Babies: Part 1- Thin is not always in

Have you been nervous to try an injectable because of bruising or discomfort? Read on… There is a TOTAL laundry list of ways to avoid little bruises or lessen the slight (and temporary) discomfort from an injectable cosmetic treatment, but here is one of my tips based on my experiences in the office:

Avoid blood-thinning meds and supplements:

Why? Because when the blood is thin, it can flow out of an injured capillary pretty fast, causing a pretty solid new purple beauty mark! Check out my post on what causes a bruise here. This most commonly means avoiding things like:

Ibuprofen

Aspirin

Alcohol

Herbal teas (and Green or Chinese teas)

Gingko

Vitamin E

Fish Oil/Omega 3's

Medications like Plavix and Warfarin

(There should be a complete list of these blood thinning elements and other contraindications available at your doctor’s office.)

Try to avoid any drugs/supplements known to thin blood for about 5 or 7 days beforehand. However, you should talk to your doctor (don't just stop because you read a blog!) if you are on those Rx blood thinners, as you’ll want their professional direction about risk vs. benefit.

Don't Pop that (Omega 3) Pill the week before your injection!This is not a complete list of meds to avoid... and your doc will likely have specific post-care instructions for you. This is post is simply meant to be fun and informative- not the authority on your health, so please always follow your doctors instructions, and NOT what you read on the internet! (yes, this blog included!!)

Keep in mind that there are always risks to every procedure, so chat it up with your physician to make sure these procedures are appropriate for you… Stay safe, and fabulous!

Bruise News: What causes a Bruise?

A Bruise will occur when a blood vessel becomes injured… so like, when you bump into something. Or, in the case of a cosmetic injectable procedure: when a needle ‘bumps into’ a blood vessel. Uh, You should have seen the other guy??The blood that was hanging out in there is suddenly free to flow into the tissue surrounding the vessel. It’s worse if your blood is thinned by medications or supplements, as it takes longer to stop flowing out, and there is more blood to collect. This is what you see when you observe that lovely bruise-darkness through the skin.

Bruises are normally harmless, and go away gradually. Generally, the chances of getting a bruise from a cosmetic procedure are lower if:

-You’re not on blood thinners or supplements that can thin the blood

-Your injector is very experienced (though it can happen any time, no matter who injects you!)

-You’re not on steroids (like prednisone) which can make your blood vessels fragile

-You avoid using corticosteroids, as it can make the skin thinner and less protective of those capillaries.

If you do get a bruise, try to keep your head up (sleep with an extra pillow at night) as gravity can help the blood drain from the area, and keep swelling to a minimum.

Stay tuned for more info on bruise-prevention in a series of posts on injectable-procedure tips for wussies! And until next time, stay fabulous my friends!

Fillers, without the ouch: Dermasculpt Cannulas

"I think next time I'll ask for a micro cannula..."When a physician uses a blunt-tipped cannula to administer a soft-tissue filler like Juvederm, Radiesse, Restylane, Perlane or other, they are using a blunt-ended, usually flexible, straw-shaped tool to move around the area. This tool allows the injector to lay little threads of the filler product smoothly and evenly. The key point here is that blunt-tipped micro cannulas are not sharp. When the filler is administered with one, the tissue is not pierced through or poked like it would with a ‘regular’ needle. The physician or nurse will be sliding the cannula in through a tiny pin-point opening that they create (in an inconspicuous place like the corners of the mouth). Then they'll thread/glide the cannula through the tissue, smoothly filling the area with the product. Additionally, they do not have to pierce through the surface skin multiple times like they would with a needle. This means less possibility of bruising for you!

Have a low beauty-tolerance? Micro cannulas could be your new best friend.It’s also less painful, and you'll typically end up with much less swelling. Here’s a great study from the American Society for Aesthetic Plastic Surgery, if you'd like to check that out. They did a 2 week comparison of post-injection 'downtime' of needles and micro-cannulas. They conclude that cannulas are the way to go!

l personally would describe the feeling as “weirdzies” versus “OUCH!!”. You can certainly feel something moving around, which is why I describe it more as a strange sensation, and not really a pain sensation. I've personally tried the Dermasculpt Cannula, which seems to be a great product. Dermasculpt cannulas have pretty much become the standard for soft-tissue filler treatment at Cadella Medical Spa and Wellness Center here in Chicago, so it's the brand I'm most familiar with.

Even though blunt-tipped cannulas are a fantastic way to have a soft-tissue filler injected, not all docs use them. They can be much more expensive than regular needles, and training is needed (there is a learning curve, as I understand).  It's also important to know that even if they utilize cannulas for injections in their practice, sometimes an injector will choose to use a traditional needle. It can depend on the product being used, because some fillers are thicker or thinner than others. It also depends on and what the injector wants to do with it, and where they'd like to put it, so it won't be appropriate all the time. Chat it out with your injector to see if you're a good candidate for blunt tipped micro cannulas at your next treatment.

Check out my other post on Dermasculpt and uplift filler technique here, and until next time: stay fabulous my friends!

If Michelangelo was into aesthetic medicine, he'd do this...

"hmmmmm... should I be considering BOTOX?"

Michelangelo Buonarroti is known to have described his sculpting as a process where he would 'release' a figure from the block of stone in which it slumbered. The masters of the Renaissance (and contemporary sculptors, too) would often create a model of their ideal figure first. Typically made out of clay, the artist would mold and manipulate the shapes to take form- and create something beautiful.

To me, this is not unlike the soft-tissue filler sculpting methods of today. Injectors will often use combinations of Artefill, Juvederm, Radiesse, Perlane, Belotaro, and/or Restylane to fill in areas that have lost facial volume due to age, injury, or medication/treatment. After the product is administered, they'll sometimes use their hands to manipulate the material and sculpt the filler inside the tissue, (no, it doesn't hurt!) since at this point, the fillers have a clay-like consistency. It absolutely makes me think of sculpting, like the masters of the Renaissance.

I've got soft-tissue fillers on my mind since the fabulous injectable event that I worked last night. We were SO busy, because once you've discovered who to go to for a gentle, natural liquid facelift -or- uplift injection, you don't need to look any farther. Dr. Eliza Parker in Chicago is that physician (and a sort of Michelangelo) for many people. She is a MASTER with the soft tissue filler sculpting techniques and the use of Dermasculpt blunt-tipped micro cannulas. She uses the Dermasculpt cannula instead of a traditional needle, and smoothly threads filler into the tissue. She'll do this as a part of her sculpting technique as her tool to restore lost volume and build a sort of scaffolding, which helps create a structure underneath any lax or sagging facial skin.

911! Somebody get me some filler, stat!!  As we lose the adipose (fat) tissue in the upper face, we'll see sagging in the lower face. If you were to watch her perform an uplift, you could see how she gently moves and sculpts the product to the exact place she wants it to create a very pretty and natural contour, gently lifting jowles and naso-labial folds (nose-to-mouth). Here is a video of Dr Pierone in Vero Beach FL performing an uplift. We were lucky enough to visit him in his office to observe his technique a couple years back. You may find it fascinating...

If you’re in the Chicago-area, I would highly recommend seeing Dr. Eliza Parker for a consultation: her technique is total artistry. She even trains other medical professionals how inject with these special cannulas. Here's Dr Parker's website, so you can check it out!

Dr Eliza Parker: the Dermasculptor, and her tools of the trade. And if you happen to be in Florida, you could certainly give Dr Pierone a call. Dermasculpt seems to be having trouble with their physician-finder page as I write this, so if you're in any other of the 48 states... (sorry!) check back with them soon to find an MD in your area: Here's the Dermasculpt link for you, and until next time: stay fabulous, my friends!

Botox: Making Mountains out of Molehills

I sometimes get some questions about the 'mole-hills' or little bumps that you get right after a BOTOX Cosmetic treatment. This is a very, very temporary occurrence  (between 5-15 minutes usually) that some people tend to get anxious about or hung-up on. So, I thought I would post pictures of my own latest treatment in an effort to put some worries to rest. My Fresh Mole-Hills, about 5 Minutes after getting Botox Cosmetic Yup, Just another view of my glorious Botox Bumps And Wah-Lah! Here I am about 15 minutes after treatment... looking pretty good- no Mole-Hills!The reason these little temporary 'mole-hills' occur:

When the BOTOX Cosmetic arrives at an office, it is in concentrated, sort of freeze-dried or vacuum-dried form. There are 100 units in a typical bottle, but they need to be reconstituted to properly use them and measure them out. Saline is used to do this. The injector will determine how many units need to be injected into each area, and will inject the BOTOX Cosmetic, Diluted with saline, into the area. It takes your body a couple of minutes to absorb it, which is why the molehills occur. They are gone really quickly!

Despite how many questions we hear about this, this little side effect should probably the least of your concerns. Be sure that your injector is a physician or a nurse injector, and that they are using authentic BOTOX Cosmetic. You can even ask them to see the bottle, which has a hologram on it. There are sometimes little bruises (like just bigger than the size of a pin-point) that can occur, and we most typically see them around the eyes (crowsfeet). I didn't get any bruises this time, but every once in a while I will. Usually not a big deal at all!

Always do your homework, and you will be better off!  Here's a full list of side-effects, and always discuss the risk vs benefit of any treatment with your doctor!

Enjoy your treatment and Bye Bye, Crinkle-Eye!

Product Review: Latisse

Word on the Street/Company Claims: Longer, thicker, and darker eyelashes can be yours when you apply this bimatoprost opthamolic solution .03% every night to the lash line (like liquid eyeliner).

They are actually not sure why it works- funny, right? In summary, this product was first available as a glaucoma treatment (Lumigan… but was/is used IN the eye as a medication). Basically, a whole lotta glaucoma patients ended up with a whole lotta fabulous lashes! And so after an FDA trial and a repackage (kinda): Latisse was born.

Appropriate for who?:

People who feel like their lashes could be better… and unless you are one of those people gifted with epic lashes: who doesn’t?

NOT so good for:

Those already undergoing treatment for glaucoma, and those who may be having an upcoming opthamalic surgery or procedure,… ask your doctor.

Totally Fabuliz: (Favorite part):

It ACTUALLY works. If you like to put 2, maybe 3 coats of mascara on, you will fall in love with Latisse (and may even find yourself joining the rest of the 1-coat world!) Measurable change takes place over the course of about 16-18 weeks as your untreated lashes fall out naturally and the Latisse’d lashes cycle in.

Just OK:

I would guesstimate that I’ve seen maybe 2 of every 50 patients experience some eye irritation with this product. So while not often, that can happen. Also, there’s a chance of a pink-ness that can develop on your lids. It happened to me, and will go away as soon as I stop using it. Doesn’t bother me enough to discontinue use AT ALL… You can’t stop me now!! MUAHHahahahah (crazy laugh) … ahem… sorry.

The Lid-darkening on me: which doesn't phase me at all. Um have you SEEN my lashes? =)Needs work:

The disposable applicators are not as user friendly as a tube/wand package would be. (kind of like Revitalash). However,  since Latisse had to get FDA approval… they went over–the-top with safety so they could get approved, fast. The instructions say that one brush is to be used on one eye, disposed of, and then another brush used for the other eye. TWO applicators EACH DAY? I’m thinking: We apply mascara to both eyes every day with only one wand! I understand that its indeed a bit different here because there’s no preservative… but listen: You can almost hear the landfills crying.

Star Rating: 4 STARS!!!★★★★

★1 Star: Might pass this one up

★★2 Stars: Okay for the money

★★★3 Stars: Really nice product, I’d buy it

★★★★4 Stars: Pretty much deserves a Nobel Peace Prize, want it/need it/ have to have it!

Misc Notes/Other need-to-know's:

Don’t stop using it. Once you have your results you need to keep going! I don’t have a problem with the thought of maintaining though- once you have your fabulous lashes you want to keep them!!

More= Not always better! Don't waste your precious Latisse!!Check out my other blog post with additional Latisse info here, including a video of how I like to use my Latisse, (but always follow the instructions of your doctor!)

Click here for Allergan’s official Latisse Page. And PS- Definitely join their Brilliant Distinctions reward program so you can earn points for your purchases… you can get coupons for $25 off, $50 off, and even more if you spend enough or have treatments like BOTOX  Cosmetic.

Bottom Line:

I'm a Latisse-r for Life. Love. Love. Love.

ZITS: 5 Break-Glass-In-Case-Of-Emergency Tricks

As I sit here with a blemish so large that I may end up naming him (Thor? Steve? Brutus?), about to get my Kenalog Injection, it occurred to me that I may want to share a few of my emergency acne treatment ideas. Yes, it's true. Even the skincare-obsessed (and skincare professional) will get the occasional blemish. If you are like me, you might have a fabulous dermatologist in your back pocket.  A quick and almost-painless injection of a steroid and will have you like new in 24-48 hours. What I have is called Kenalog- it’s a glucocorticoid corticosteroid meant for intralesional, (meaning: in-the-zit-itself), injection.

This is one of the best 'break glass in case of emergency' treatments before weddings/prom/reunions. There's risk of a scar when you have these injections, so talk it out with your doc. Sometimes the blemish itself threatens a scar, like when it's big enough to have its own name. So depending on your situation, despite the risk you may still opt for the shot.

Don't have a derm? No time for an appointment?

Here are 5 of my top at-home emergency blemish treatments:

Acne Arsenal: Here are a handful of my fave blemish-fightersOver-the-counter hydrocortisone: 

(I prefer the cream version, but it's also available in an ointment form) you can apply hydrocortisone 1% a couple times a day for up to 7 days to help reduce inflammation and redness.

Ice, Ice, Baby (better yet, cool packs):

Reduce inflammation by holding a cool pack on for 15 minutes at a time, or as long as is comfortable. It's good to do while you're checking email or watching a movie.

Don't forget your 20% off coupon! Super Cutie Cool Packs at Bed, Bath, & BeyondTretinoin (aka Retin-a):

If you have some of this (generally for use all over the facial skin at night) I have found that if you use a dab during the day, it can help to flatten things out a bit faster. Tretinoin is typically for anti-aging and /or acne treatment and prevention- it's a power house prescription. If you don't happen to have any laying around, Salicylic Acid is always a good one to dry and flatten things out. I love Obagi's Clenziderm MD Pore Therapy.

Anti-histamines:

Try taking Benedryl or Claritin, if its appropriate for you (i.e, your md says you're good to go) ... It's all about reducing the inflammation!

Um, yuck. Murder those anaerobic bacteria jerks with BPOBPO:

Benzoyl Peroxide products are awesome for prevention and treatment of the pustule-type of lesions… the yucky ones with the ‘head’ on them. This is because BPO works by bringing oxygen in to murder the anaerobic (O2-hating) bacteria in the follicles. A crazy awesome Rx version is called Acanya, otherwise my fave and most-recommended BPO is Obagi's Therapeutic Lotion.

Of course, always follow the recommendations of your own skin care professional or physician- and may the force be with you!

Fabulous Lashes without Batting an Eye?

I’ve been getting a lot of questions about Latisse lately, so I thought I’d throw something together with my personal tips and some official information, too! 1)   Latisse rocks, but it’s $$$: Here’s a video of how I like to store and use my disposable brushes so you can get more use out of each package. This is considered off-label, meaning it’s not necessarily the way the product is labeled for use- so always do what your doctor or skincare professional recommends!

Click on the image to see the you-tube vid!2)   Let’s not get Crazy: I’ve heard of patients using a makeup brush to apply the product… I would NOT recommend this, as Latisse does not have a preservative in it. Hygiene is of course very important, especially with the eye-area, so stick with the disposables for sure.

3)   Night Owl: Only use Latisse at night, with your contacts out and makeup off. Contacts can actually absorb the product, so be sure not to cut corners here. Apply your eye products and treatment creams first, and Latisse will be the very last step.

4)   Browing out: An off-label use of Latisse is applying it to the eyebrows. I did that once for a period of time to experiment, and found that it would not grow hair where there wasn’t hair already, but that it did make individual brow hairs a bit darker and longer, too, contributing to a bit of a fuller effect.

5)   Changing Eye Color?!?: I think when patients hear this, they freak out and think their blue eyes could turn brown and vice versa- thankfully this is not the case.  To summarize, when Allergan did a 5000 patient study of the Lumigan version of this product (used IN the eye) for the treatment of glaucoma, there was a small percentage of people with hazel eyes that had darkening of the gold-flecks in their eye. This change was found to be lasting. If you have hazel eyes, consider if that would bother you, as it could be a risk… important to consider that it was only happening to a small % of the people using the solution IN the eye, like an eye-drop, which we are NOT doing with Latisse. Other eye colors have not been found to change or darken.

6)   No biggie?: There is a chance that you can get darkening of the lash line where you apply the Latisse, since it’s increasing melanin (and making your lashes darker!) it happened to me, but the trade-off for awesome lashes is just fine with me. It’s kind of a light pink, so it covers easily with a light shadow/I don’t even really notice it. Some of our patients who already have dark eye areas think twice about using Latisse. Thankfully, when you stop using it, it goes away… so no biggie if you ask me.

7)   Keep the Faith:  Latisse can take up to 16 weeks for full results… this is because when you first start using it, its treating the lashes that haven’t grown in yet. So, it can be hard to use a product every night when you don’t see much happening, but Latisse WORKS, so keep up the good work, and hang in there for fabulous lashes!

Here’s a link to Allergan’s Latisse page, please read up for full Rx info and more official business!

Product Review: Obagi Medical's Hydrate Facial Moisturizer

1.7 Ounces of Glorious Hydration: Obagis HYDRATEWord on the Street/Company Claims: “Hydromanil technology” delivers moisture in a 2 Part Action.

Part 1: There are Hydromanil matrix molecules that stay on the surface of the skin to reduce LOSS of moisture.

Part 2: A water-bearing 3D matrix captures and hold on to water within the skin, continuously releasing moisturizing compounds, increasing moisture for at least 8 hours after you put it on.

Appropriate for who?:

It’s designed for every skin type, and I would agree with that after using it.

It’s got a medium consistency that would please a dryer skin-type, but it dries mostly matte and does not feel heavy or look greasy, which oilier types would love. It is mild enough that I would recommend it to people who are post- chemical peel or using retinoids (or other treatment products) that could compromise the skin too!

Here's what it looks like right out of the bottle. Pretty, no?Totally Fabuliz: (Favorite part): It didn’t make me break out (Just look at me wrong and I’ll break out!) but I really feel that it improved my dry skin.  I'm also not seeing an increase in pore congestion or any indicators of build-up. There is no scent, so I didn’t have to decide if I liked the smell or not. (no fragrance also usually means non-sensitizing and non-irritating, which is a score!)

Just OK: I suppose the packaging could be splashier? That’s getting picky though.

Needs work: Nothing!

Star Rating: 4 STARS!! ★★★★

★1 Star: Might pass this one up

★★2 Stars: Okay for the money

★★★3 Stars: Really nice product, I’d buy it

★★★★4 Stars: Pretty much deserves a Nobel Peace Prize, want it/need it/ have to have it!

Misc Notes/Other Need-to-Know's:

It's Non-comedogenic and allergy-tested. Obagi says that there is a 51% improvement in transepidermal water loss (TEWL) after 8 hours, and a 92% improvement in moisture content of the skin within 2 hours.

I would definitely buy that, since their clinical studies were performed using a Tewameter ® (funny name!) and a Corneometer… this wasn’t an interview of 3 of your best friends who thought they liked it ('3 out of 4 women agree')!

They used a Tewameter... yup, it's a real thing. :) The consistency is medium... not too heavy, not too light. The Goldilocks of Moisturizer??

Good work Obagi… I will be recommending this one for sure. 

5 Things to AVOID after a Chemical Peel Treatment

ImageDespite some really awesome (in my opinion!) post-care instruction sheets,  every once in a while we’ll get a phone call from a post-peel patient in distress. These clients, no matter how aesthetically-seasoned, occasionally forget the warnings of their providers, or maybe could have underestimated some post-peel sensitivity (maybe just a bit.) Here are 5 things to surely avoid that are sometimes forgotten in the days after a chemical peel: (-and please always follow the instructions given to you by your skincare office-)

1) Over-moisturizing:

If you over-moisturize, you can make the peeling skin too soft, which can  cause it to come off before it’s ready. This can leave the fresh, baby-like skin underneath exposed and possibly compromised. An additional disadvantage of over-moisturizing includes possibly s-l-o-w-i-n-g the peeling stage… and if you’ve ever had a peel, you know that nobody wants that!! Use just enough moisturizer to make you feel comfortable.

2) Hair-removal:

This includes laser-hair removal on any peeled area (you’ll want to follow your skin-care office’s specific instructions, but I wouldn’t treat someone with laser for at least 10-14 days).  Waxing and shaving are also off-limits because they can remove the skin, so be sure to avoid both. If you have to, simply tweeze.

3) Picking!!:

This one is easier said than done FOR SURE. Its hard not to pick off any little flakes that might be staring back at you in the mirror. But, try to remember that the flakey dead statum-corneum is actually protecting skin that isn’t necessarily ready to be exposed yet. So, even though its annoying…hands off!

4) Excessive Sweating:

Depending on the strength of the treatment, some peels will cause the top layer of skin to get crispy or tight like a thin plastic-wrap… and this could trap sweat underneath the skin. A little bit usually doesn’t cause an issue, but if you visit your usual hot yoga class, you might end up looking like a freshly waxed car after a rain.  Sweat gets trapped under the skin and forms little pockets that look just like those little beads of water… but these droplets don’t wipe off… Yikes!

If this happens, don’t panic- they only look alarming, and aren’t harmful. Give your skin care expert a call and ask how they recommend handling it.

Image

  5) Vacation-Related Activities:

You’ll want to avoid several activities that I like to classify under: ‘Things you’d likely do on Vacay’. These things include Sun Exposure, Swimming (keeping skin wet for extended periods of time AND Chlorine) and having treatments like Facials.- yes, even the ‘natural’ ones.

Remember that we want to treat the skin as if it’s very sensitive in the days after a peel, even if it feels or looks normal. Folllow your provider’s recommendations for post-care and continued treatments, and play it safe with products, sun, and picking, even if it’s tough. Your skin will thank you!!!

Here's a great link to a super-compliant, 5 Star non-picker friend who's documented her experience: check it out!

And always be sure to play by the rules for less irritation and great results from your exfoliation!

Happy Peeling!

La Roche-Posay Thermal Spring Water... for all kinds of hotness!

Drug-Store Shout Out! Thought I'd share one of my faves for comforting the skin post-laser, post-chemical peel, or to refresh and cool when you are just feeling HOT! (Although we know you're always hot! :)) La Roche-Posay Thermal Spring Water, seen here for $13. We used to carry this at the plastic surgery institute I worked for. We loved it! The company tells us that it has a pretty neutral pH, (great as a toner) and it's rich in Selenium, which is to help skin heal faster! Pick it up the next time you're in need... saw this at Walgreens.

Practice Safe Sun: Faux Tanning

I just got home from the fabulous Cosmos Beauty Bar, the home of  -you guessed it- Cosmopolitans (and wine, and coffee, and martinis!) AND simultaneous high-quality beauty treatments by amazing professionals. This cutie pie place is located conveniently in my neighborhood in the suburbs of Chicago, and offers spray tans, waxing, and all kinds of fabulous nail services. Although I did not happen to imbibe today, I did indulge in a pedi and a spray tan… which got me thinking about spray tans, how they work, and why they rock. Don't look TOO close... but these runner's feet have been polished to the maximum extent of cute at Cosmos.

It seems that the first 'fake tan' was available around 1960, when Coppertone® came out with the first sunless-tanning product -- QT® or Quick Tanning Lotion. I understand that this was an orange-nightmare of sorts. Yikes.

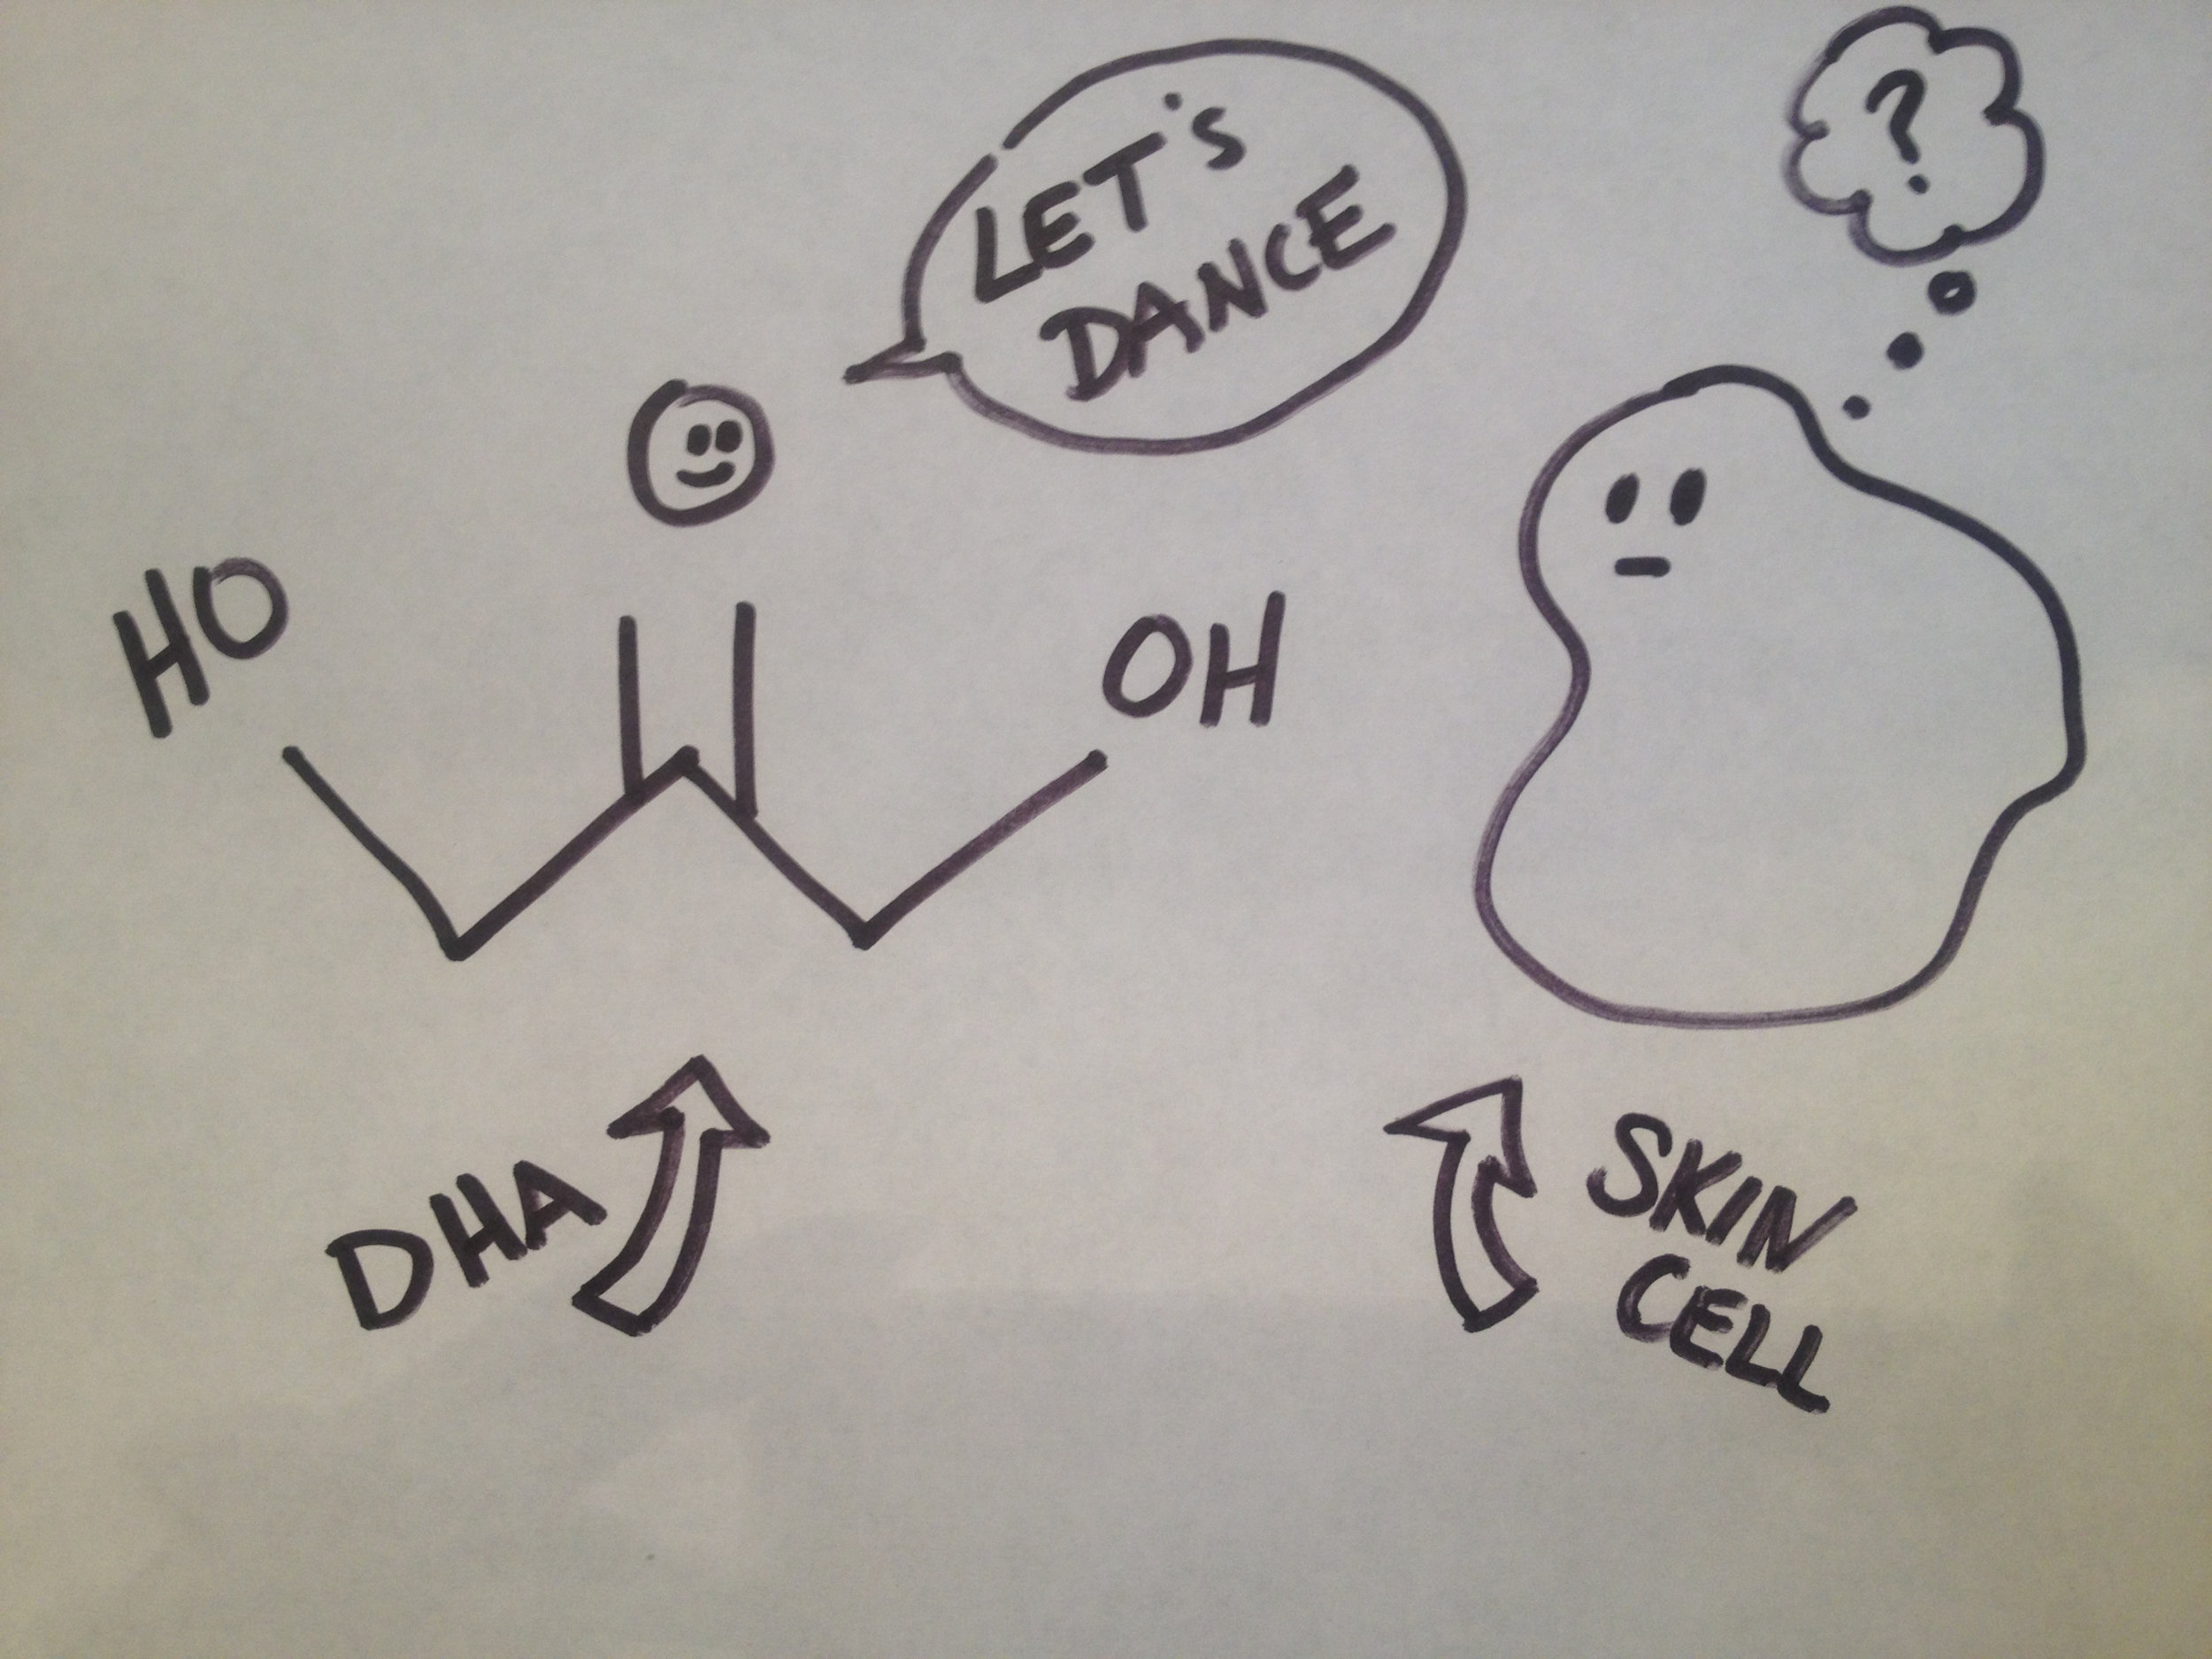
Anyway, things have come a long way since then, and there are all kinds of formulations and application methods to suit your fancy. The ones that I have the most experience with are DHA self-tanners. DHA is actually a type of sugar. Who knew?

According to the FDA’s website: “One commonly used ingredient in these products is dihydroxyacetone (DHA), a color additive that darkens the skin by reacting with amino acids in the skin's surface”

If you are having a spray tan, or spraying yourself (with a tan in a can), a fine mist of product containing DHA (Dihydroxyacetone) blankets the skin lightly. Lotion products also contain DHA. It turns out that DHA does not produce the same melanin as a "real tan" (by stimulating melanin levels), but it does create the look of a tan appearance by turning the upper layers of the skin brown. DHA activity only takes place in the upper layer of the skin (epidermis) as amino acid proteins and epidermis skin cells mingle and party.

Dihydroxyacetone parties with epidermal skin cells: "Epi-DAMN, girl! Let's Mingle!" (yes, I drew this!)

Typically, color develops somewhere between 2 - 24 hours from the application and the intensity is depends on how much DHA in the product. More DHA=More Brown.

If you’re having an “airbrush” tan, or a spray tan applied by an individual, it usually means that you’ll be in your undies in front of a stranger… but really, there’s nothing they haven’t seen… so try not to worry about it. It’s less than 10 minutes, and the result is AWESOME, custom, and usually really dang perfect.

If you go to an LA Tan, or similar tanning boutique, they will also offer a spray tan or UV-Free tan via a booth. This is more private, usually a bit cheaper, but not as flawless as the airbrush. Oh, and it feels fumy! I try to hold my breath as much as I can, but I’m sure the poor employee on staff does not want to find me passed out in there... so I do feel like I end up breathing some of it in- just a bit worrisome for me, but it’s still GOTTA be safer than UV tanning, so I’m still doing it. Take that, tanning beds!

If you’re a DIY-type, here are a few of my favorite at home self-tan products:

Playboy (yes, they have tanners!) Glitz Celebrity Sunless Spray …AMAZING. Love the lotion too, but you might want to try applying it with one of those disposable sponge brushes that painters use for corners… it’s pretty dark (scary) when it comes out of the bottle…

Victoria’s Secret Beach Sexy Instant Bronzing Shimmer Lotion

Fake Bake Airbrush Self Tanning Spray

Jergens Natural Glow+ Firming (I generally don’t bother with the fair to medium levels… go for the gold! Err, GOLDEN with medium/tan!) This is also awesome for maintaining a spray tan! Caution, this one has a bit more scent than the others in the line.

For Face: Clarins Face Self Tanning Mouse SPF 15… extra points for SPF, Clarins!

The take-away from today: It may take some trial and error (though we are much better off these days than in 1960!) but it's important to find a bronzer, a spray tan, or a self-tanner that works for you.

...because always remember, kids: we all need to practice SAFE SUN...  your skin will thank you!
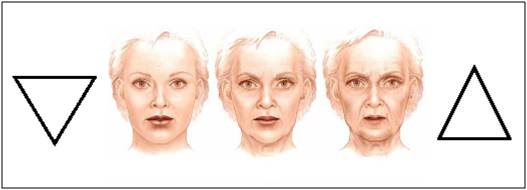
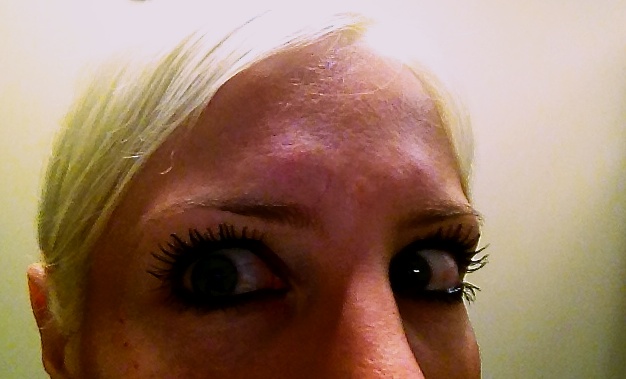
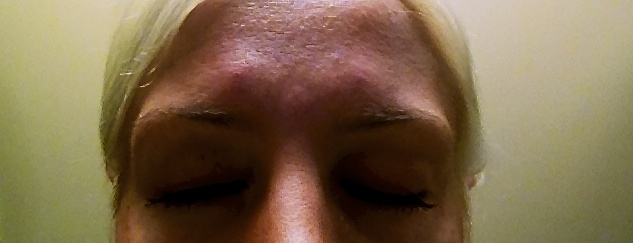
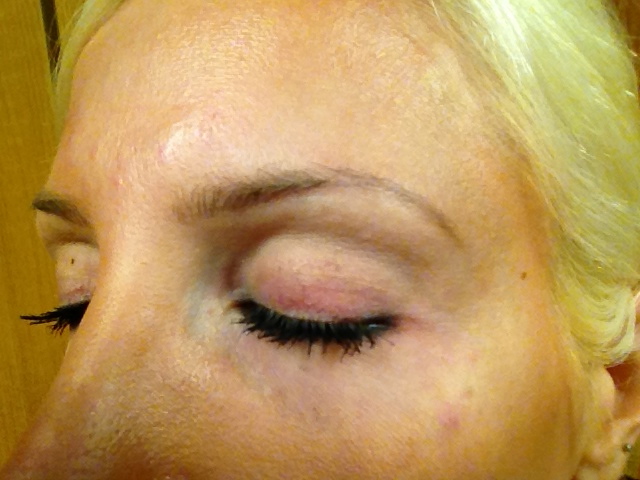