Have you been nervous to try an injectable because of bruising or discomfort? Read on… There is a TOTAL laundry list of ways to avoid little bruises or lessen the slight (and temporary) discomfort from an injectable cosmetic treatment, but here is one of my tips based on my experiences in the office:
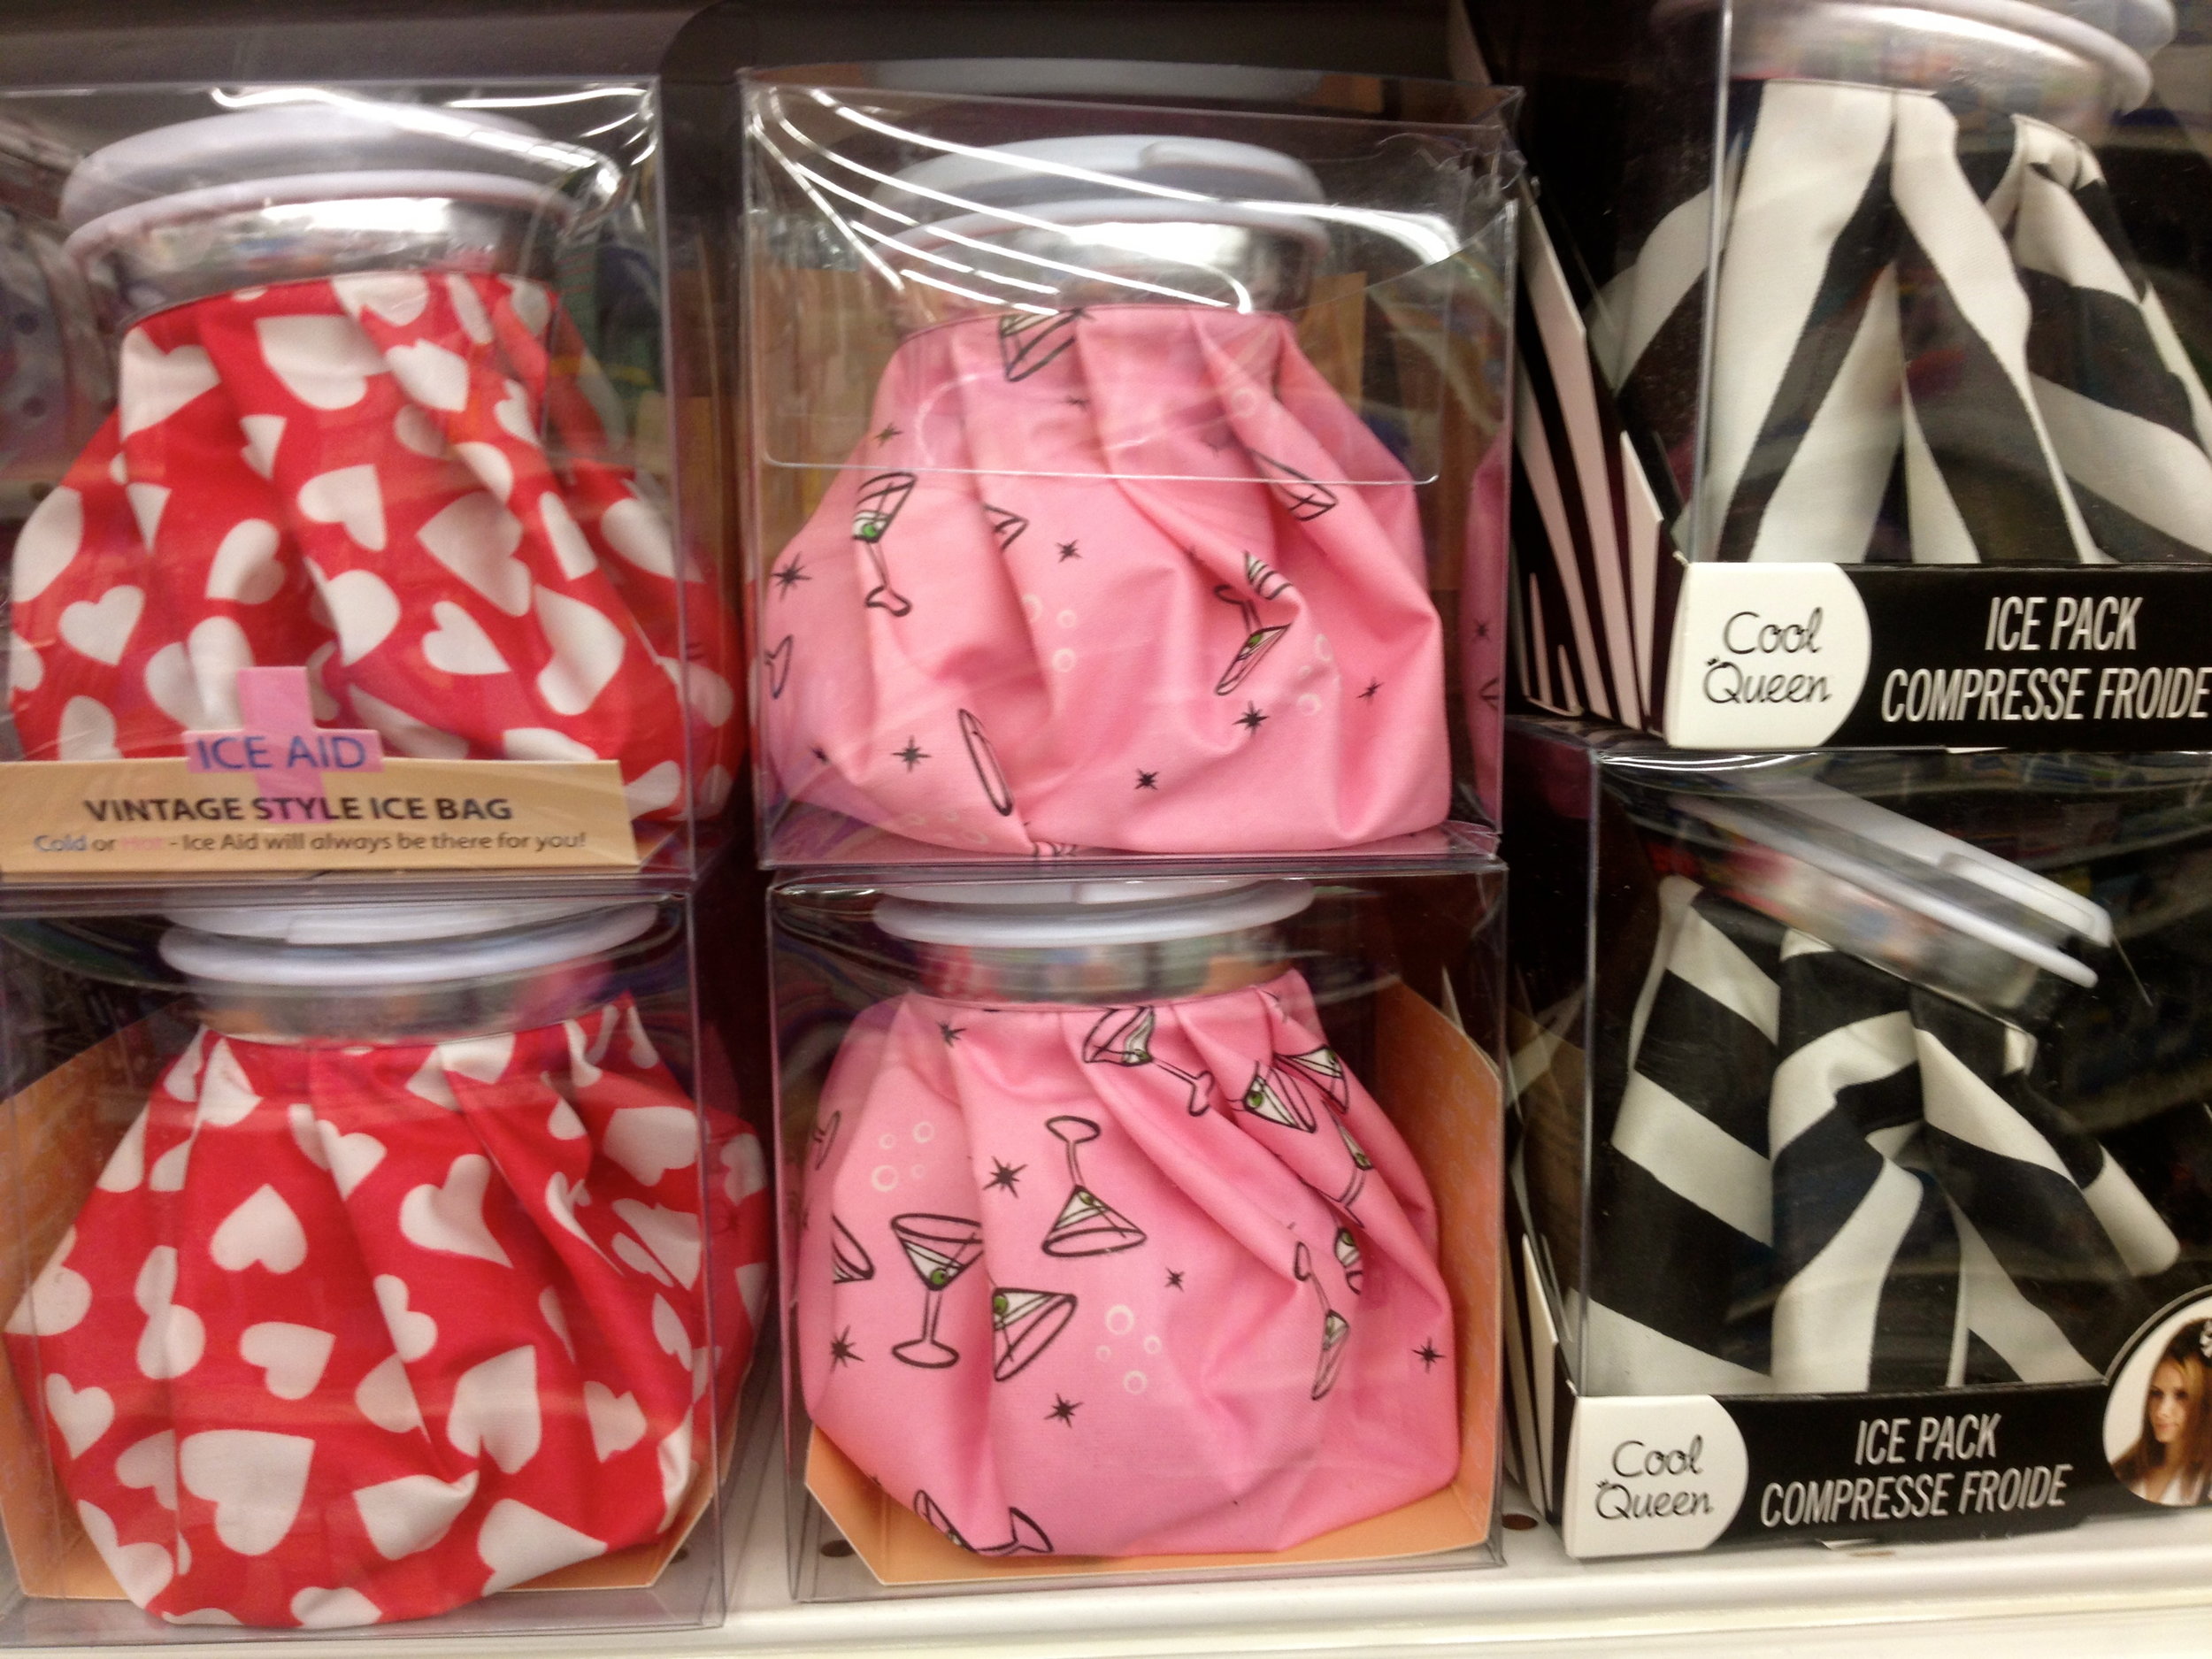
She's as cold as ice:
Pressing a cold pack onto the area for 5 or 10 minutes before your procedure usually means vasoconstriction –so those little blood vessels are running for their lives, not begging to be hit with an injection (this is what causes bruising). BONUS: it helps dull the sensation, too!
Icing afterward will also prevent or reduce swelling, which is helpful as well. The cold reduces blood flow to the injury and can limit the size of the bruise. Additionally, the cold will decrease the inflammation (this IS an injury, after all) and reduce any swelling that you might have.
5-15 minutes on, and 5-15 minutes off with a cold pack can be helpful after an injection… so if you’re checking your email or watching Netflix when you get home, grab a cold one! (a cold pack, that is!)

Your doc will likely have specific instructions for you, including post-care. Please note: this is post is simply meant to be fun and informative, *not the authority on your health* so please always follow your doctors instructions... and NOT what you read on the internet. (yes, this blog included!)
Keep in mind that there are always risks to every procedure, so chat it up with your physician to make sure these procedures are appropriate for you… Until Next time: Stay safe, and fabulous!


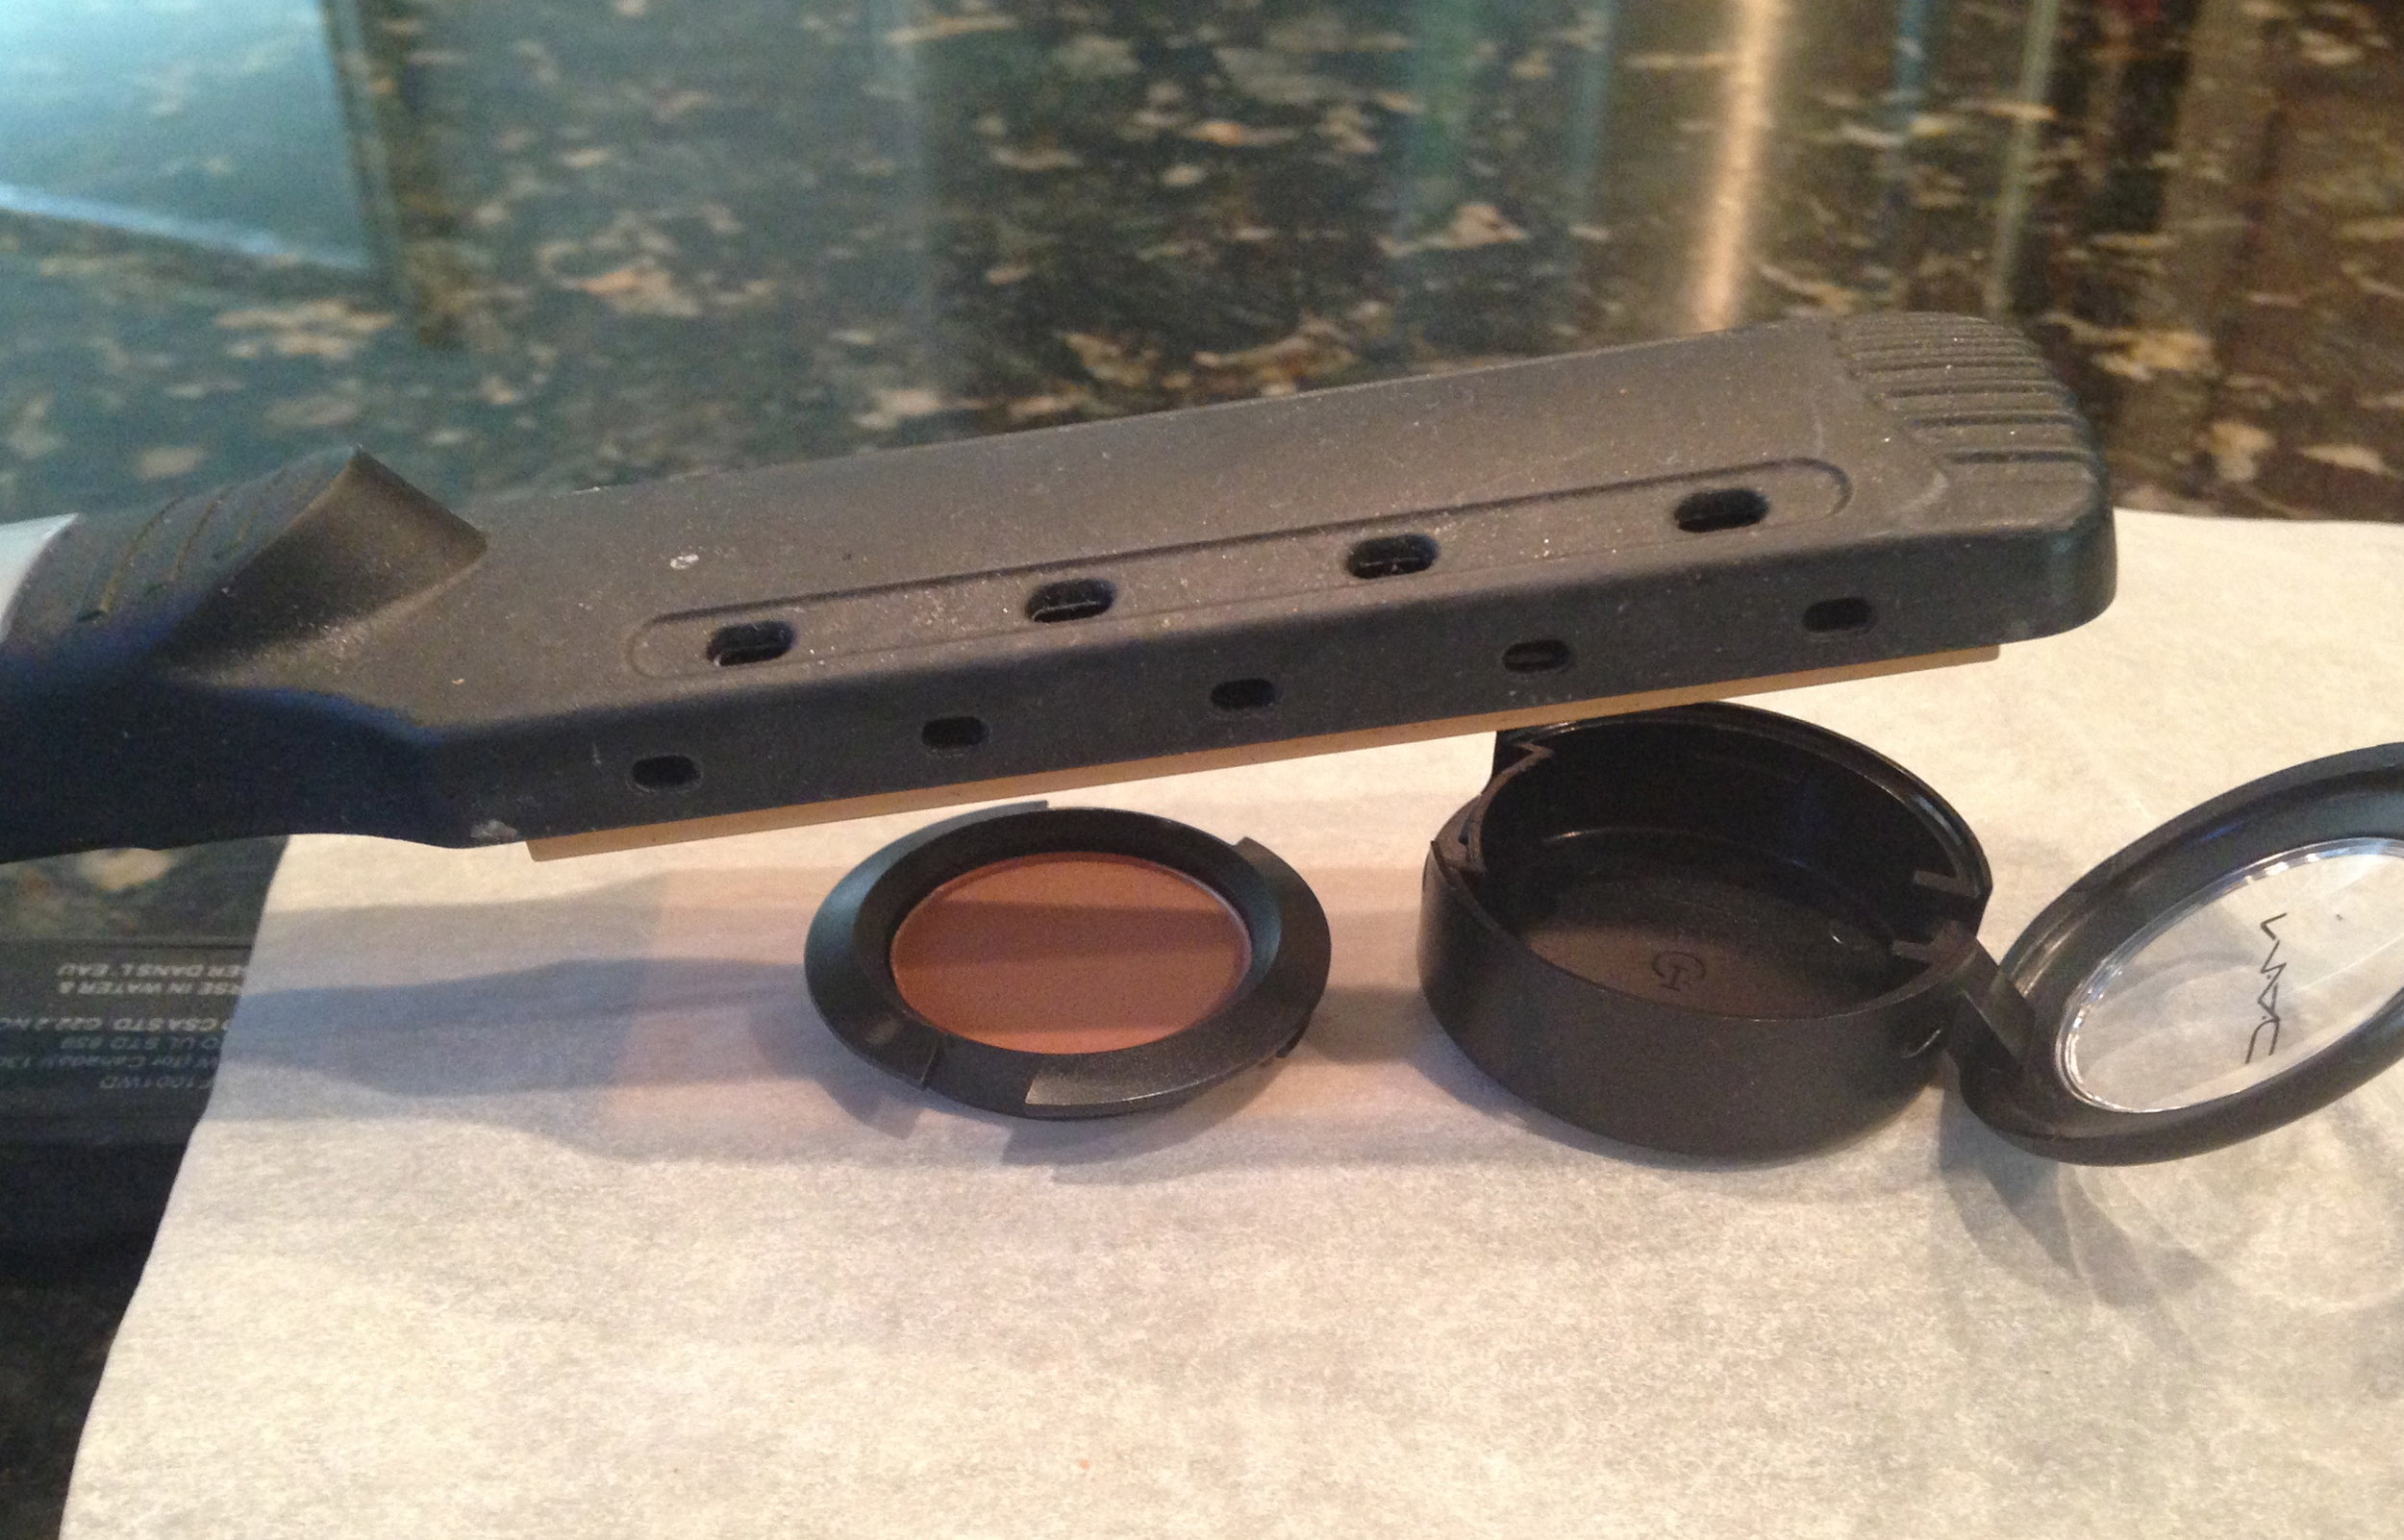


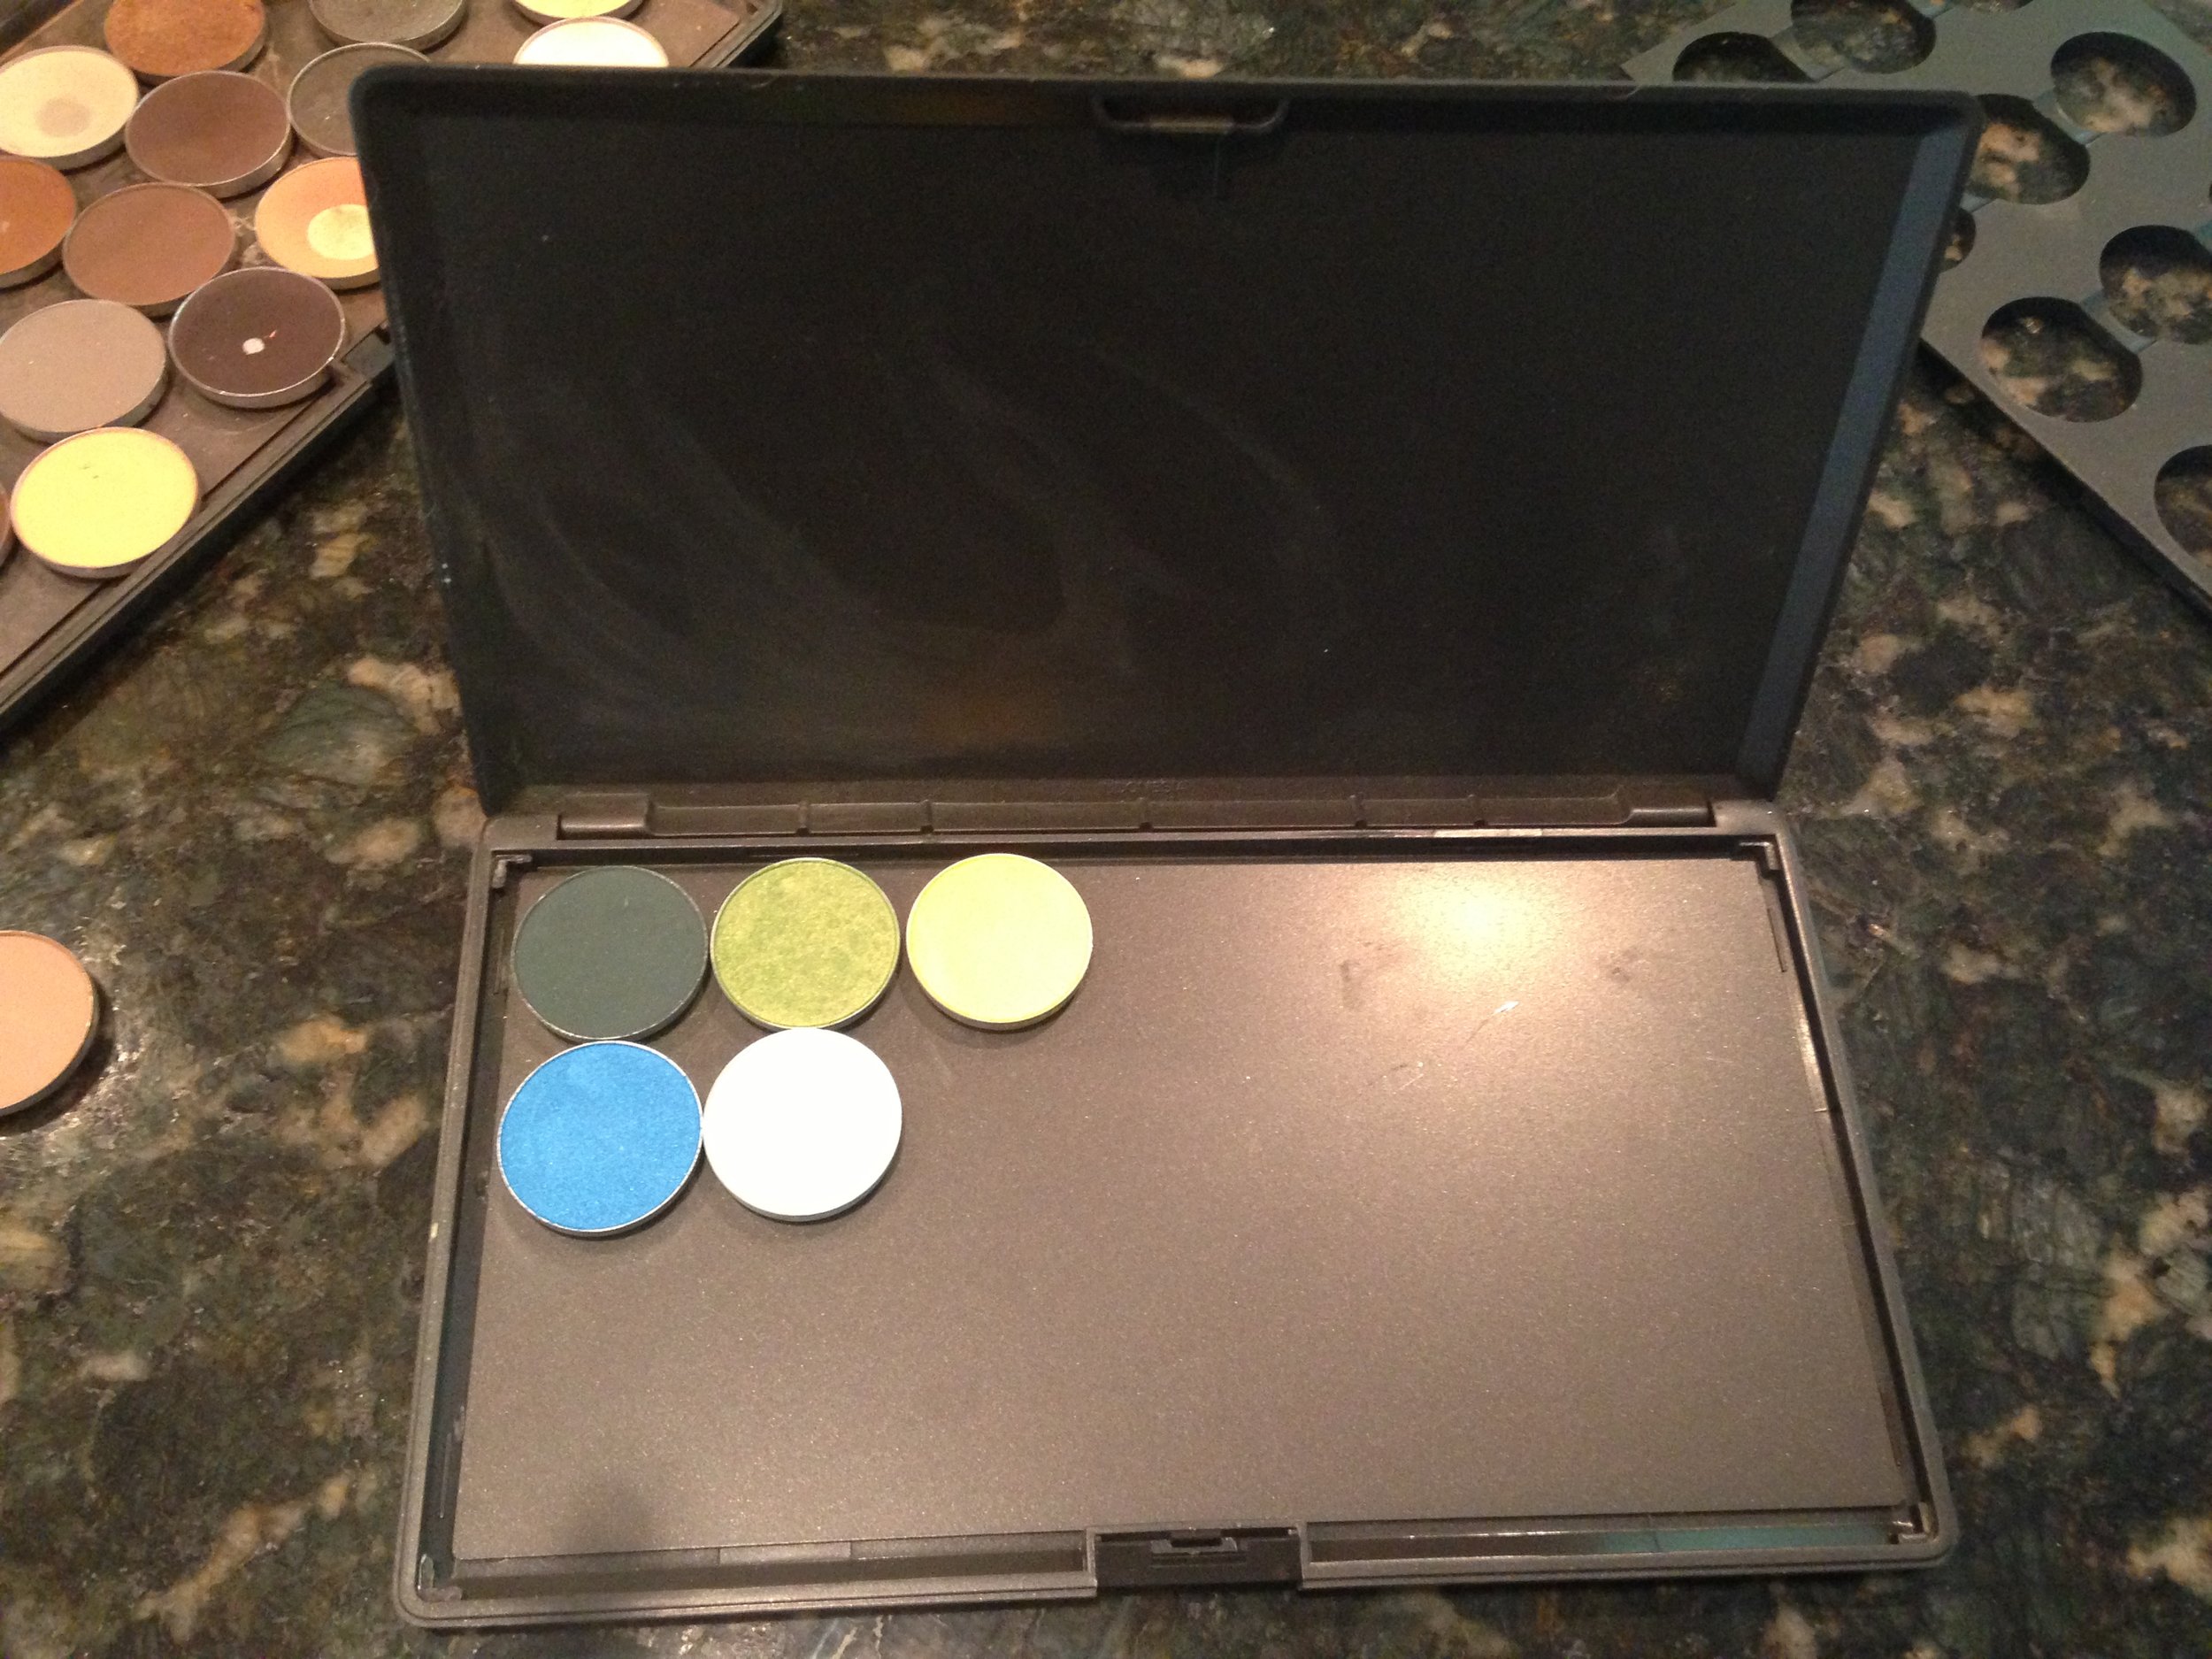

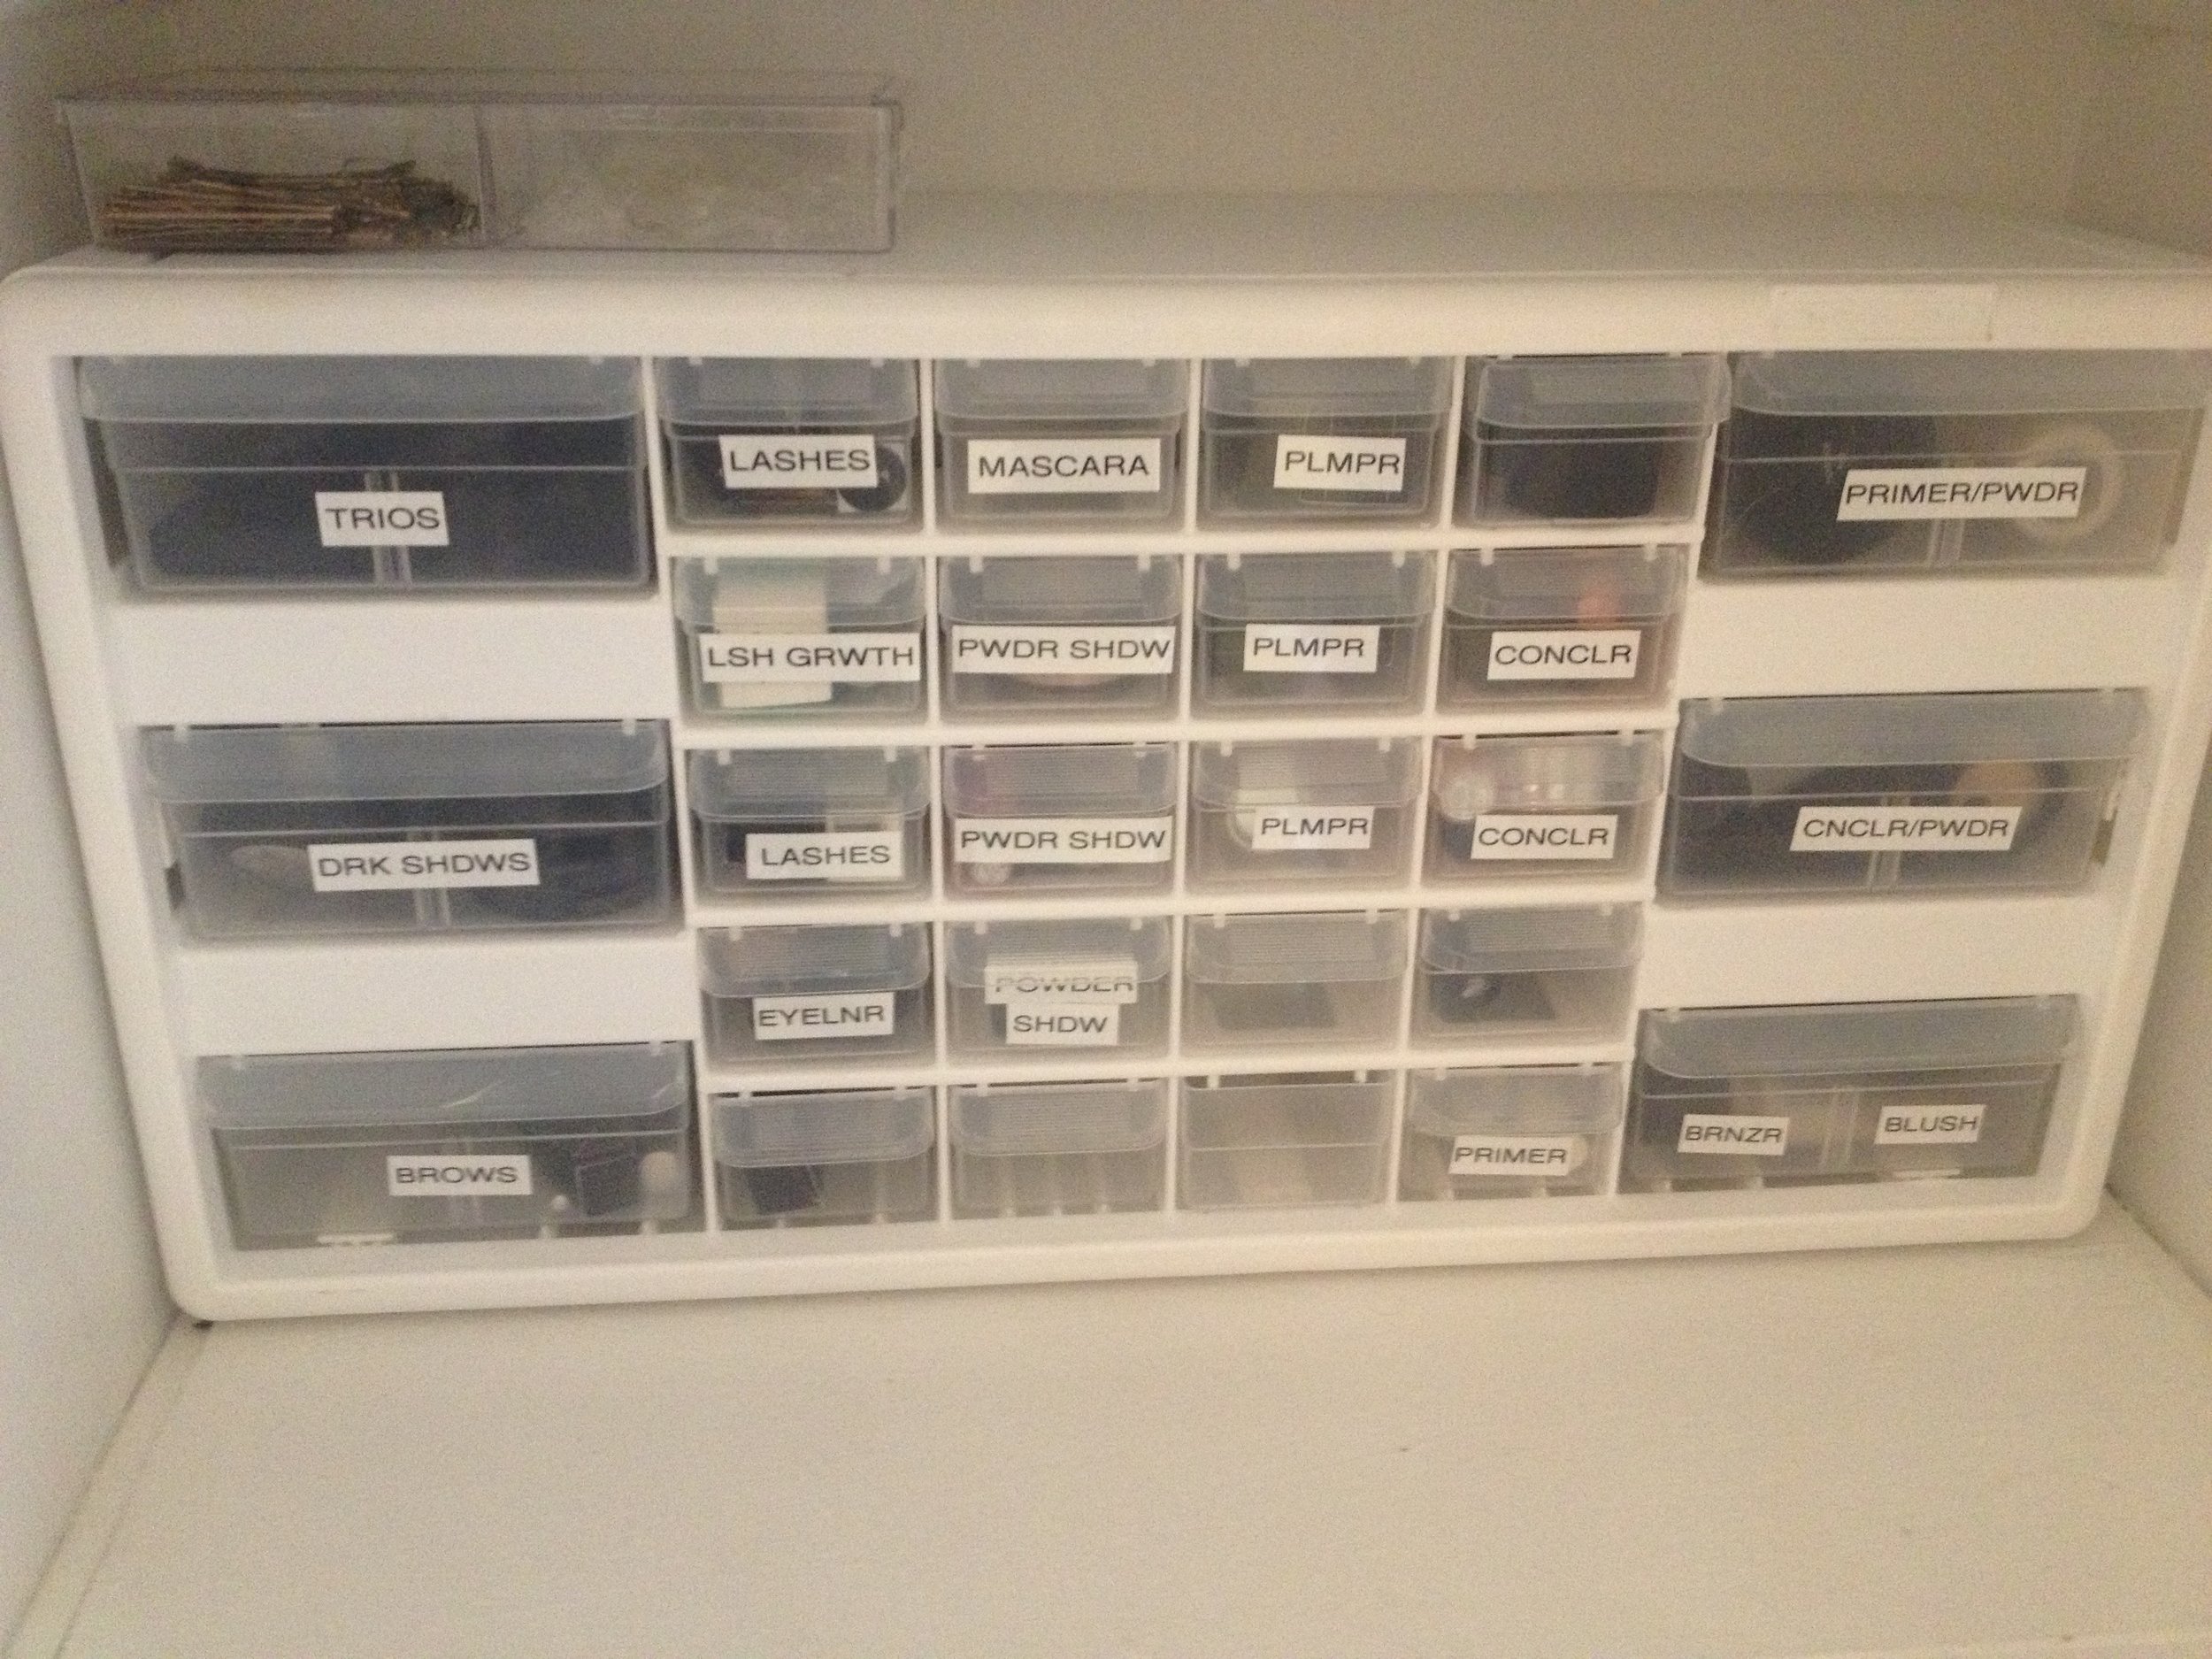
 So, I'm stealing my magnetic palettes for another project. But what am I going to do with all these shadows in the meantime??
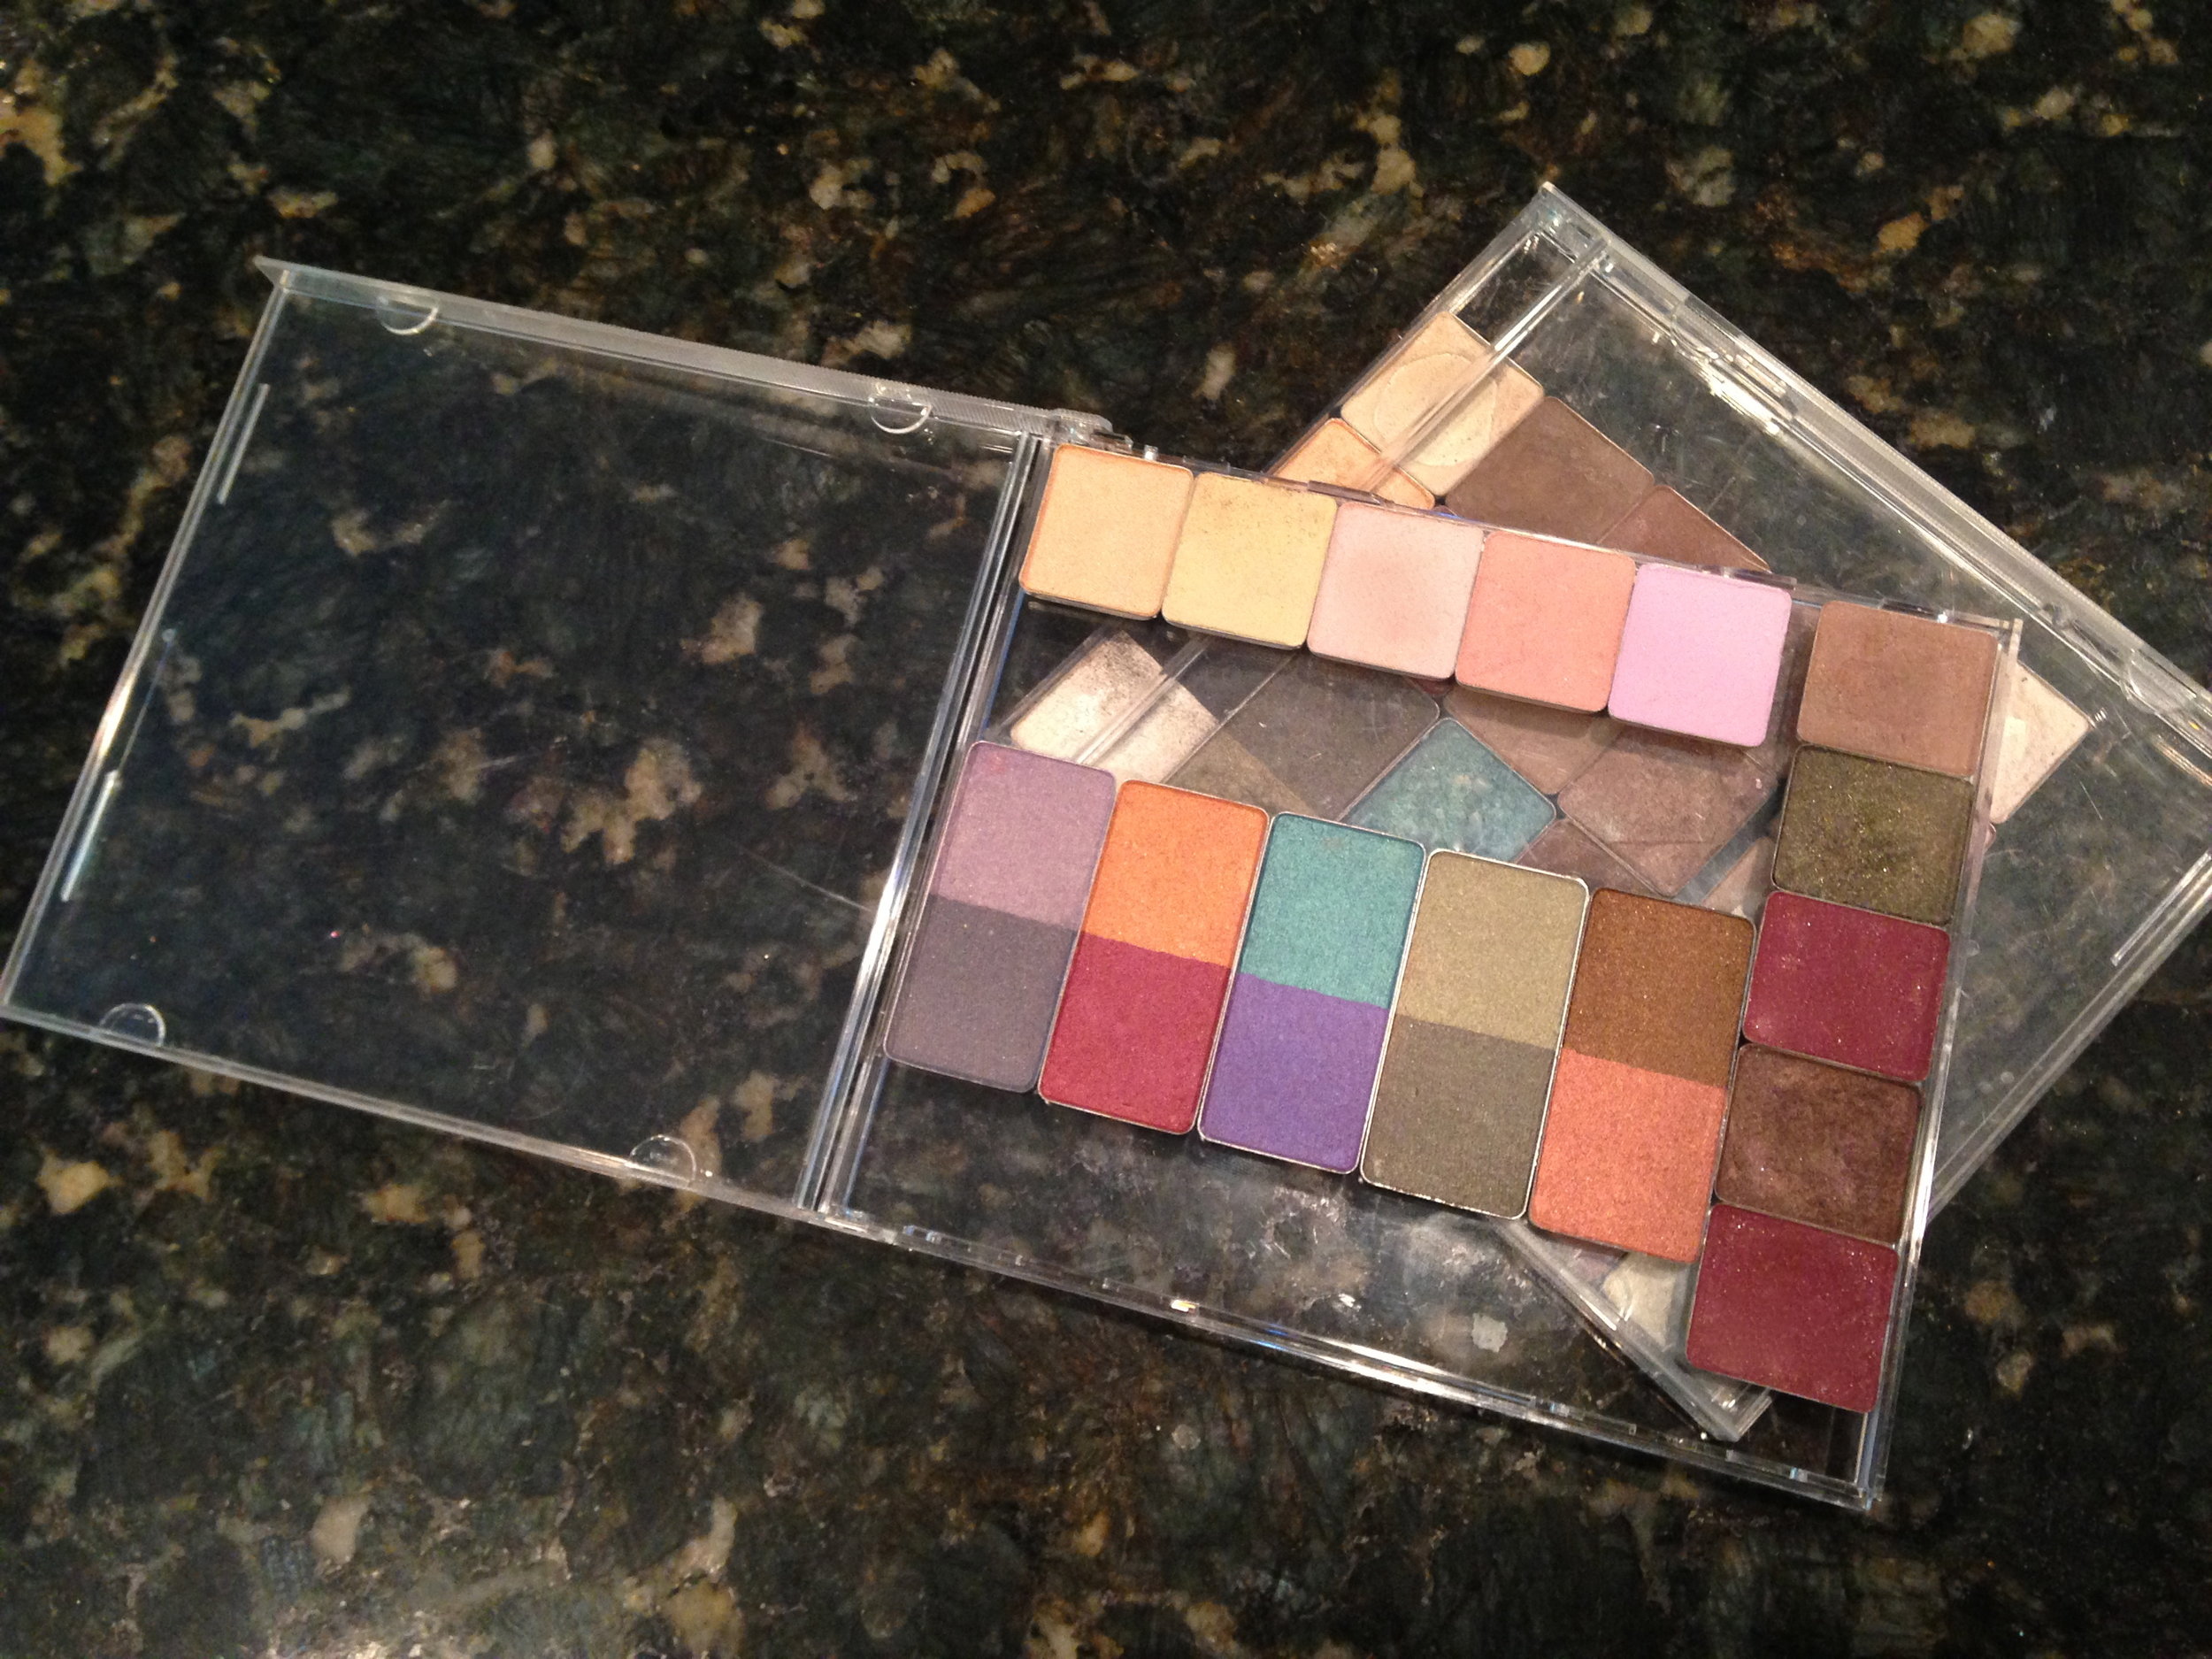