Mad About Mac Retro Matte

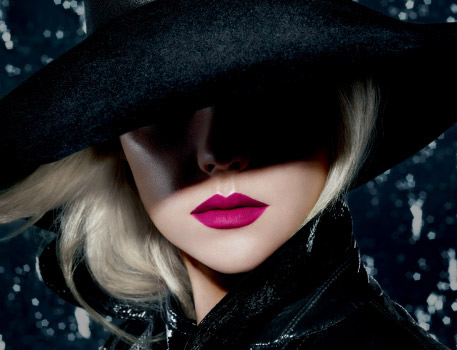
I've been rocking a couple of Mac Retro Matte Lip Colors lately. It occurred to me that I haven't accepted so many compliments or 'where-did-you-get-that?'s on my lip color in... I don't know, a long time. This collection is not that new (Sept 13, I believe) but I'm having some fun and thought I'd share! After much positive reinforcement on the color, along with a slow and passive realization that it does not smudge off during the day, I had to go grab some additional 'flavors'

wpid-testUpload.png 
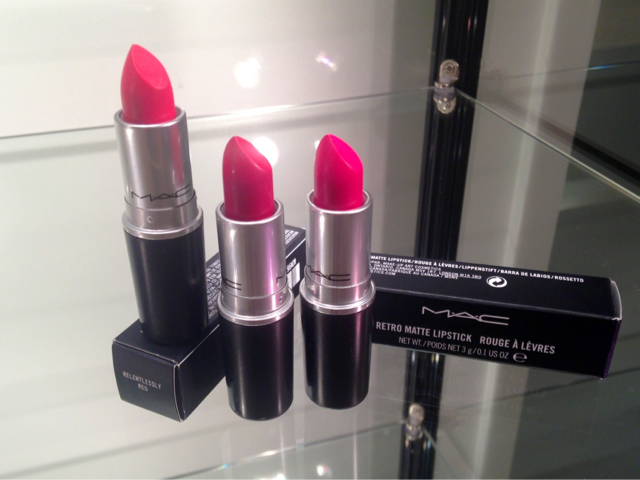
Here's what I grabbed: Retro Matte Colors (From Left) Relentlessly Red Ruby Woo All Fired Up Not pictured: Flat Out Fabulous

"All Fired Up" is my total fave... but Ruby Woo is the original crowd pleaser of this collection, known for it's Vampy Hollywood True red with its (visually teeth-whitening) flattering blue undertones.

wpid-testUpload.png

I was told by a Mac Pro that the Retro matte collection features some of the usual, pre-existing Mac Mattes, now made with the same formula that made Ruby Woo popular back in like,1999 or so. Legend has it that these bad boys are made with kaolin clay, which undoubtedly provide its lasting, mattefying effect. My fave features here are how light it feels, it's very vibrant colors, and it's lasting effect without drying you out (like a stain)*

*That last part seems to vary slightly between formulas... Ruby Woo and All Fired Up seem the creamiest to me... While Flat Out Fabulous (Fuschia) and Fixed on Drama (wine) seem to go on drier. For official info on the collection: http://www.maccosmetics.com/whats_new/11605/New-Collections/Retro-Matte/index.tmpl

and until next time- Stay Fabulous My Friends!

Beauty Pros: Pay it forward

I've been meaning to post about a great American Cancer Society Program I volunteer for called "Look Good, Feel Better" for a long time. Anyone who is undergoing treatment, about to undergo treatment, or has recently completed cancer treatment can sign up through the American Cancer Society for free. During the class (which we call workshops), licensed Beauty professionals teach and demonstrate treatment-specific skin care, makeup, head-wrap/scarf-tying, and wig styling and care techniques. Basically, everything you might want to know about if you want to feel better about how you look when you could possibly be losing your hair, your skin might be changing, and you could really use some pro's in your corner.

Image

Image

Through the Personal Care Products Council Foundation, huge cosmetic companies donate makeup and skincare for participants to use and take home. Clarins, Bobbi Brown, Dior, Avon, Lancome, OPI, and MAC are just a handful of these companies. Yesterday, my demonstration model even received a Dior SHOW mascara and an awesome Chanel lipstick in her kit. Props to these companies!!

wpid-testUpload.png 
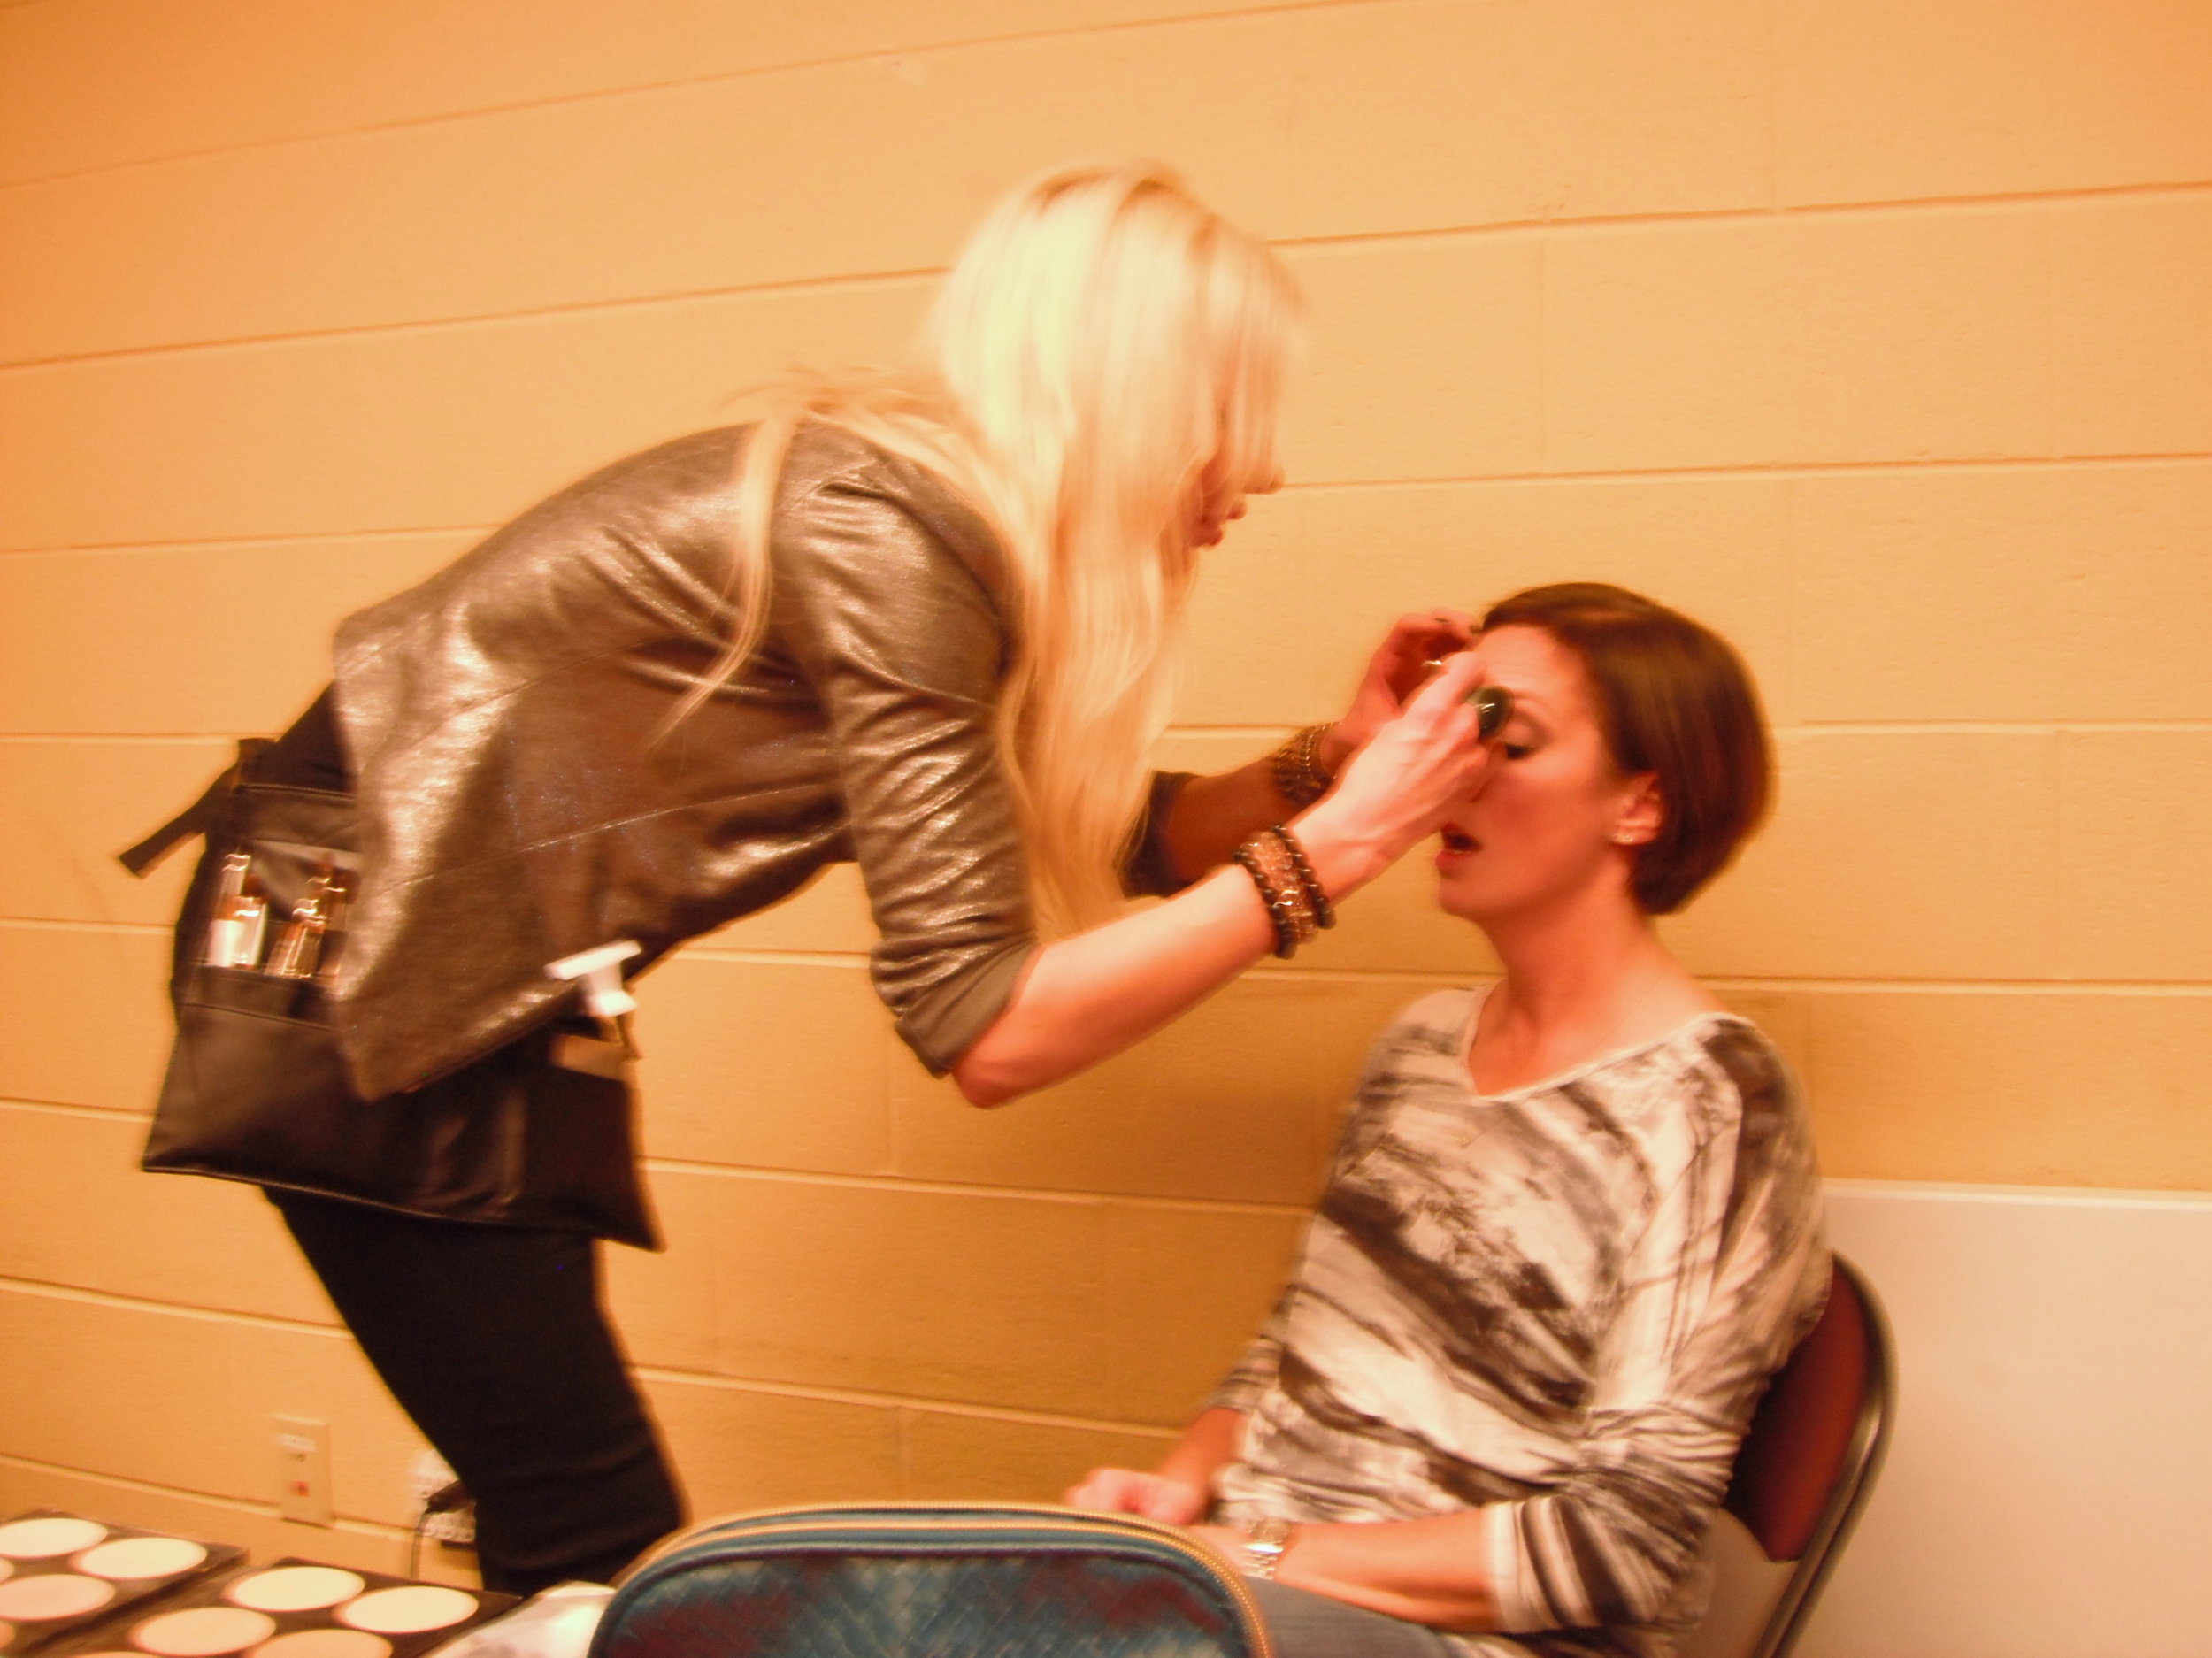
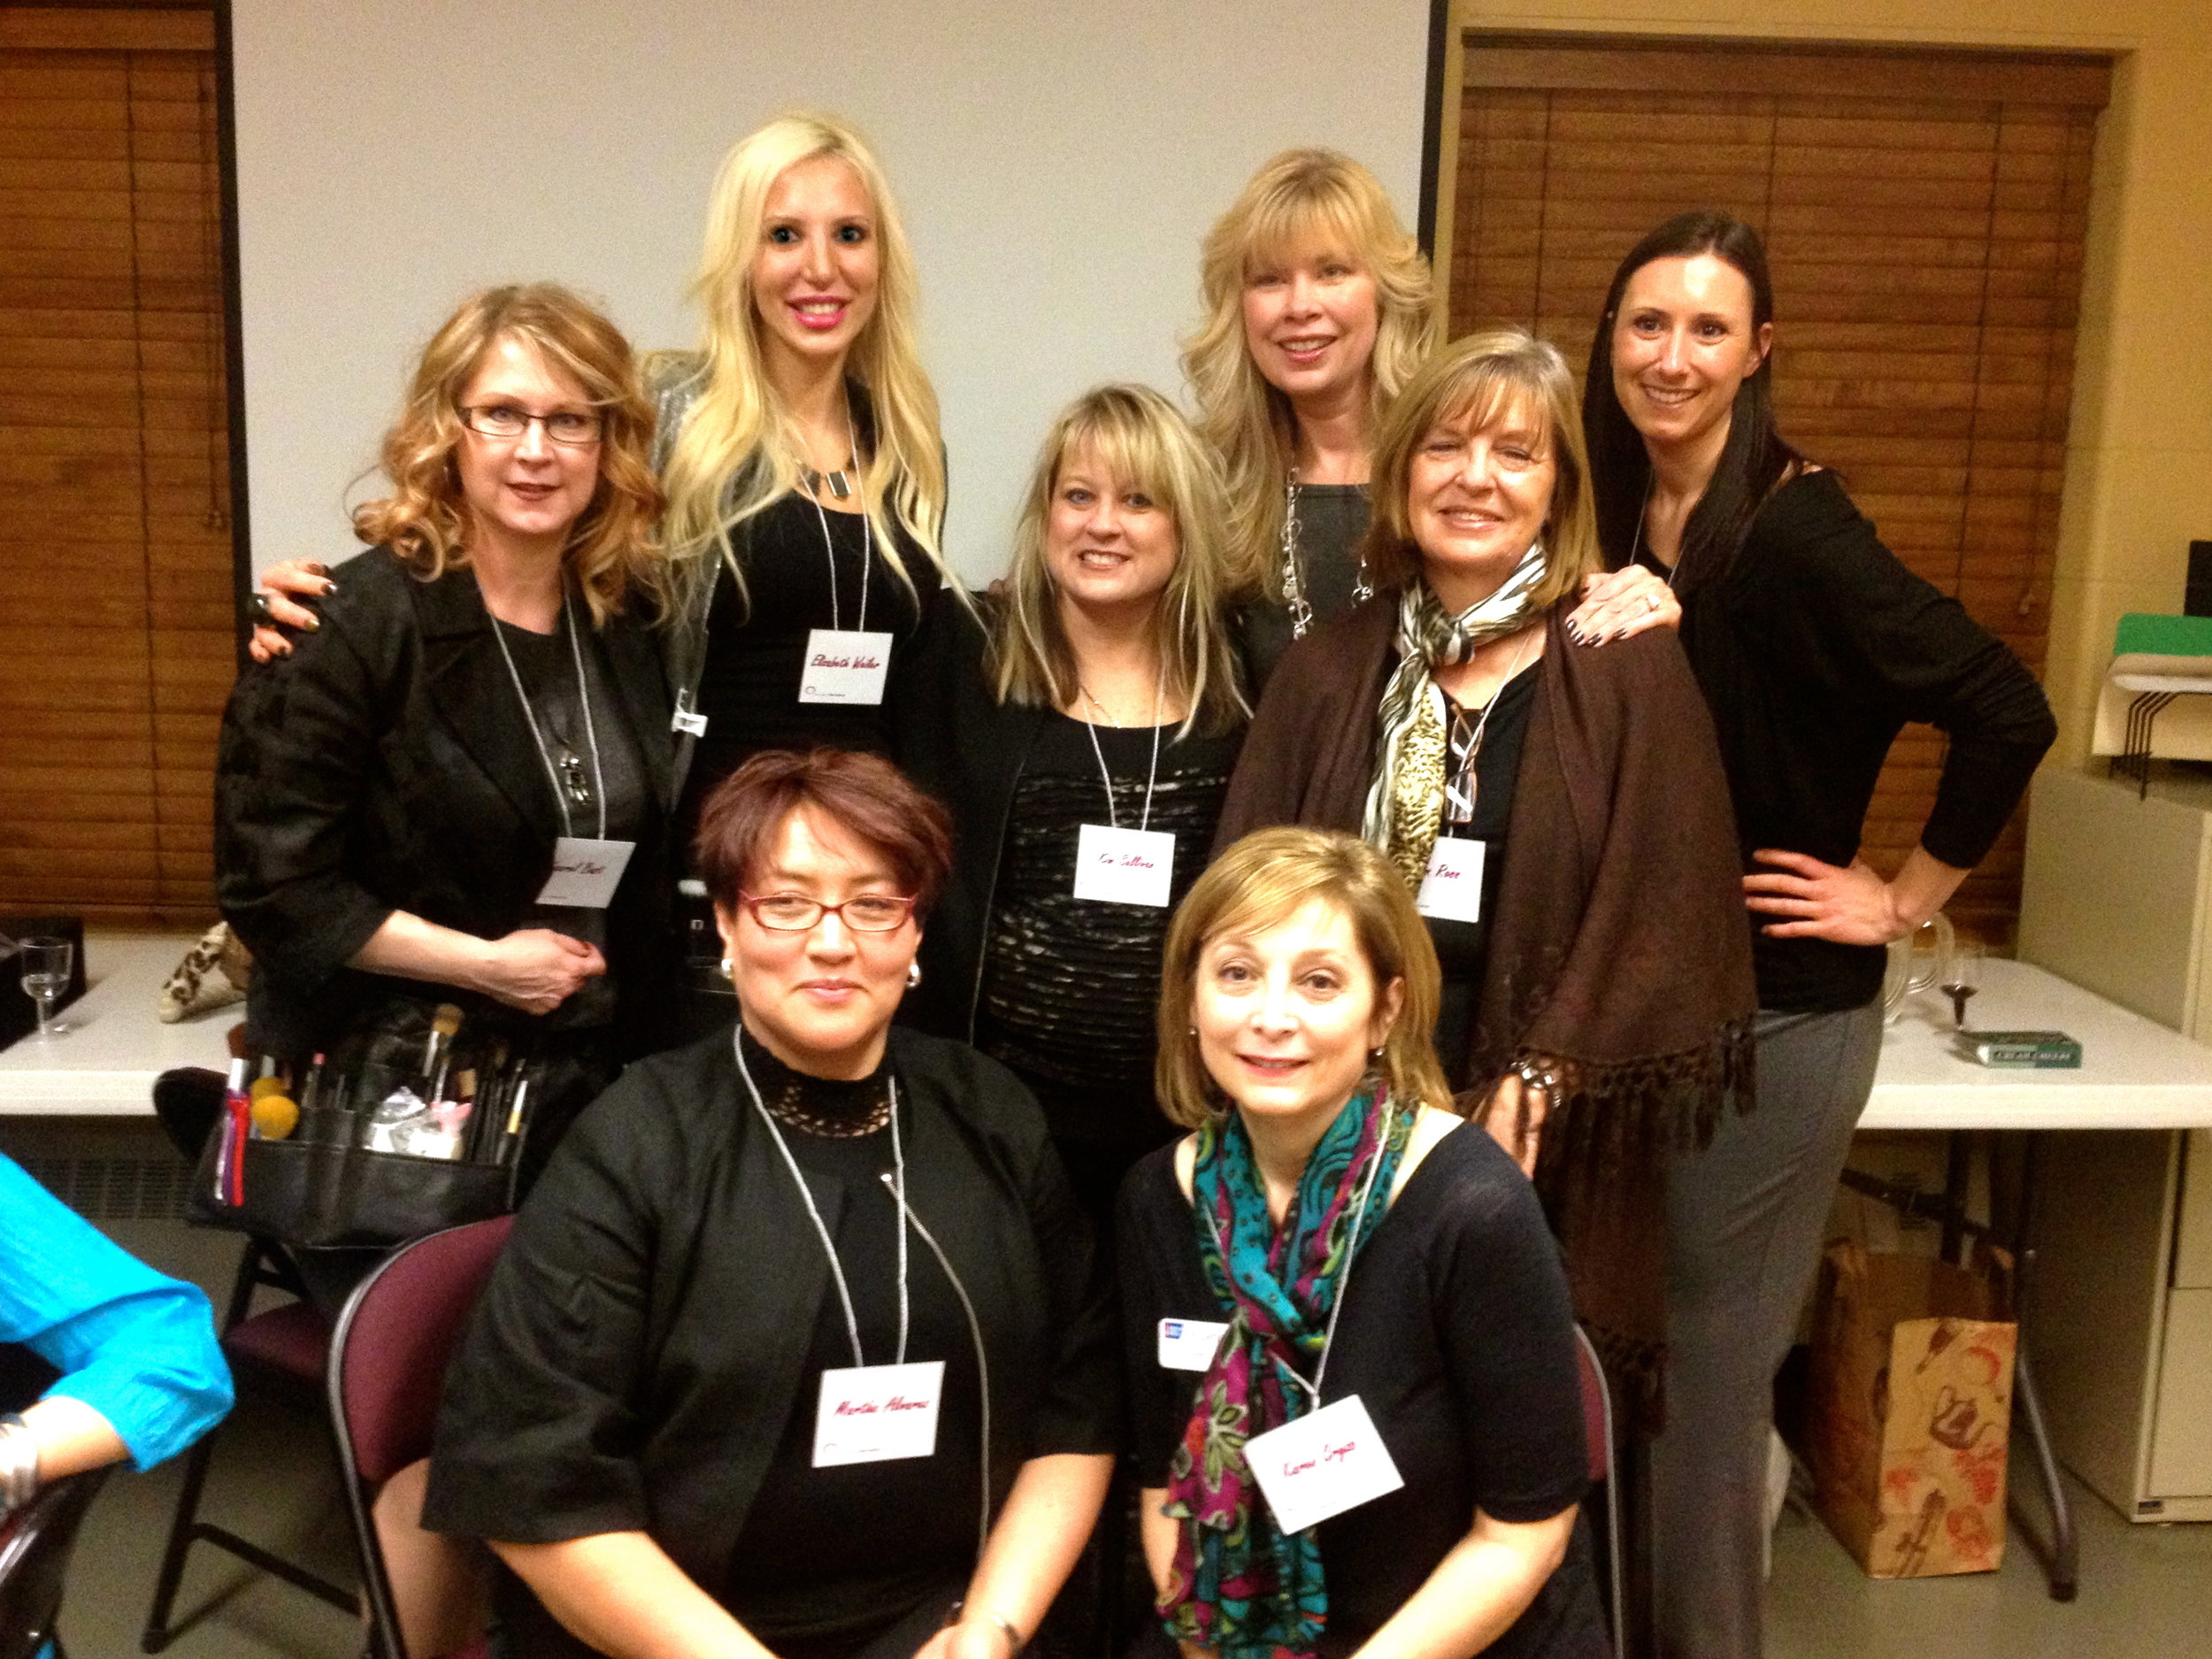
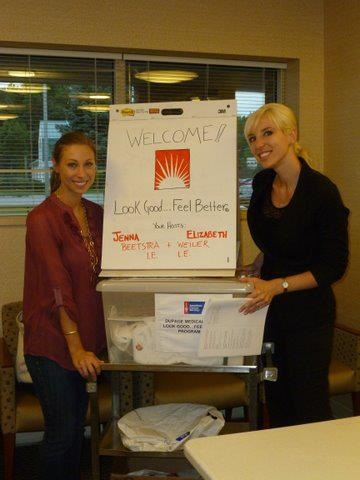
If you are a beauty professional, please consider taking your talents beyond work! You know how good you can make your clientele feel on an everyday-basis, now just imagine how you can help someone who might really need your help, but hasn't met you yet. wpid-testUpload.png 
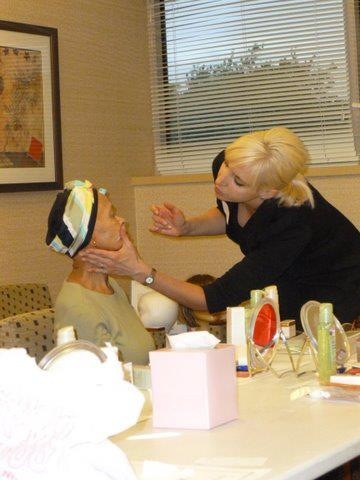
Every time, the participants leave the workshop with smiles on their faces, and you know that you might have helped give them the tools to feel beautiful and happy during a rough time. Please consider applying and training for this great program!

Image

MAC recycles and you get FREE lipstick: Win/Win

Ok, I know for those of you in-the-know, this is super basic info... But I just HAD to put it out there for those who may not know. It's not fair to keep things like this to yourself (shame on us!!), and I don't know that I've EVER seen it advertised, have you?? Did you know that MAC will take your empty makeup products and recycle them? (They call it the Back to MAC program) A sales associate in the store told me that they make playground equipment with it. Fascinating! And even I, theproductpro, didn't know about this for a number of years. waaaaaah?

As an incentive: for every 6 pieces makeup packaging that you recycle, MAC will let you pick a lipstick (or eyeshadow, depending on whether you do this at a store location vs online) of your choice FOR FREE*!

*The exception is the VIVA GLAM line, (All proceeds from VIVA GLAM sales go toward helping women, men and children living with/affected by HIV and AIDS).

The most helpful thing about this in my opinion: 

If you have OLD products (yes, its time to let them go) or colors that you just aren't nuts about: recycle those bad boys and breathe some new life into your collection with FREE PRODUCT! Yeah!!

On the website, MAC's own 'Primary Packaging' is accepted, including:

Empty Compacts

Tubes (lipglass, lipstick, liquid liner, paint tubes, etc.)

Empty mascaras

Empty foundation tubes, bottles, and jars

Here's my recycle haulHOWEVER, the girls at the location near me say this (and you didn't hear it from me!): You can bring in anything that involves plastic.

They tell me that this INCLUDES the empty makeup remover wipes package AND empty Lash containers.

My response to this was: "Do you have any idea how many of these I have thrown out over the years??" waaaaaahhh!

...So if you weren't before, now you too are empowered with this knowledge. Enjoy that. And your free lipstick!

Until next time, Stay Fabulous My friends!

Tutorial: Let your eye-shadows run free!!!! ...in 7 Easy Steps

Why would you want to de-pot your eyeshadows (and blush/bronzer etc) from the packaging, you ask? Why WOULDN'T you?: This way you can put them all in one place, and make your life much easier! ...Well, at least where makeup is involved... Many products are offered in "pro" pans, without the packaging... but many are not. This is especially true in the case of limited edition products, or items from another brand that you'd like to combine with your pro pans in a palette.

Here is a step-by-step tutorial of how I de-potted my MAC products:

You'll need: Parchment Paper, a flat iron, a pointy knife or screwdriver, an exact-o knife, rubbing alcohol, and craft magnets with an adhesive backing

Step One: I used a cheap IKEA knife to CAREFULLY pop the pan out of the packaging. The seam is hard to see at first. Be careful not to accidentally throw your shadow across the room!

EEEEK: don't shoot your eye out, kid!

Here's what the pieces look like separated:

Step 2: Place the parchment paper over the flat iron (or other comparable heat source) Mine was set on 145 degrees, which is about MEDIUM. Place the pieces onto the paper so the heat can start to soften the glue (as pictured here)

IMG_1359

Too Hot to Hold: be careful, now!

Step 3: After about a minute or so, remove the lower packaging from the heat. The label's adhesive will now be soft, so you can easily remove it. Set it aside.

Step 3

Yes, I label EVERYTHING

Step 4: After about another minute or two, you can carefully remove the shadow pan from the heat. Very CAREFULLY wiggle your x-acto blade between the pan and the plastic. The glue should be soft, and the pan should come out easily. If not, give it another minute or so on the iron.

Step 4

God bless the label-maker.

Step 5: Be careful not to burn yourself, the metal is hot when it first comes out of the packaging. After a brief cool-down, clean the old adhesive off of back of the pan (when it's still a little warm is the easiest!) with your rubbing alcohol. You are now ready to apply your magnet.

Step 5

Don't Burn, baby, burn: (let the metal cool for a sec before touching it!)

I found these pre-cut adhesive magnets in the craft section at Hobby Lobby:

Step 6: Almost there! Put that little magnet on the back of your pan. By the way, check to see if your empty palette is just plain metal, or if it's already magnetized... you could possibly skip this step!

Step 6

WAIT for it.......!!!

Step 7: Seems a little overkill-ish, but you'll be happy when you run out of that color and want to get more!! Apply your label onto the back of the magnet. There should be enough left-over adhesive on there to stick it right on.

Step 7

Awwwww, Label and Magnet: a match made in heaven.

Woooo-hoooo! Now you can pop those pans into your palette and hit the road! Want to know how to make your palette look like mine? Check out my post on cracking your palette here!

Step 7

Pop those pans into your palette and hit the road!
By the way: I learned this trick via you-tube vids. Petrilude's vid is BY FAR my favorite one out there! Click on his name above for the link to his video^ if you'd like to watch this in action!

Is the MAN keeping you down?? Customize your x15 MAC Pro Palette

Don't let someone tell you how to organize your shadows... You are the ARTIIIIST, after all! BEFORE: BORING and limited shadow storage ZZZZZZZzzzzzzzzzzzz.....To fit more fabulous shadows onto my Pro x15 palette, I wedged a small flat head screwdriver through one of the empty shadow spaces, and underneath the top plastic piece. I pried it up just enough so I could grip it with my hand...

Be careful here, if you give it too much muscle, it will snap and could fly across the room- possibly injuring an innocent bystander (or you!). Slowly pull one end up, and if you get it just right, that piece will pull right off.

Waaaah-LAH!This can work for many brands of palettes, existing Mac Pro x15's, and mac palettes that are smaller as well... so play around and see. Mac is making a new 'blank-canvas' large palette that you can customize now, I purchased this newer generation palette with an optional plastic liner for lips. Sounds like we won't be breaking the inserts out of mac pro palettes for long! Good work, MAC.

Thinking outside the box, errr, palette: you can get nuts with products, too: invite your foundation powder to the party, blushes, bronzers, cream blushes, whatever!

Getting crazy here, peopleGet creative, and let me know how it goes. Until next time, Stay Fabulous my Friends!