Why would you want to de-pot your eyeshadows (and blush/bronzer etc) from the packaging, you ask? Why WOULDN'T you?: This way you can put them all in one place, and make your life much easier! ...Well, at least where makeup is involved...
Many products are offered in "pro" pans, without the packaging... but many are not. This is especially true in the case of limited edition products, or items from another brand that you'd like to combine with your pro pans in a palette.
Here is a step-by-step tutorial of how I de-potted my MAC products:
You'll need: Parchment Paper, a flat iron, a pointy knife or screwdriver, an exact-o knife, rubbing alcohol, and craft magnets with an adhesive backing
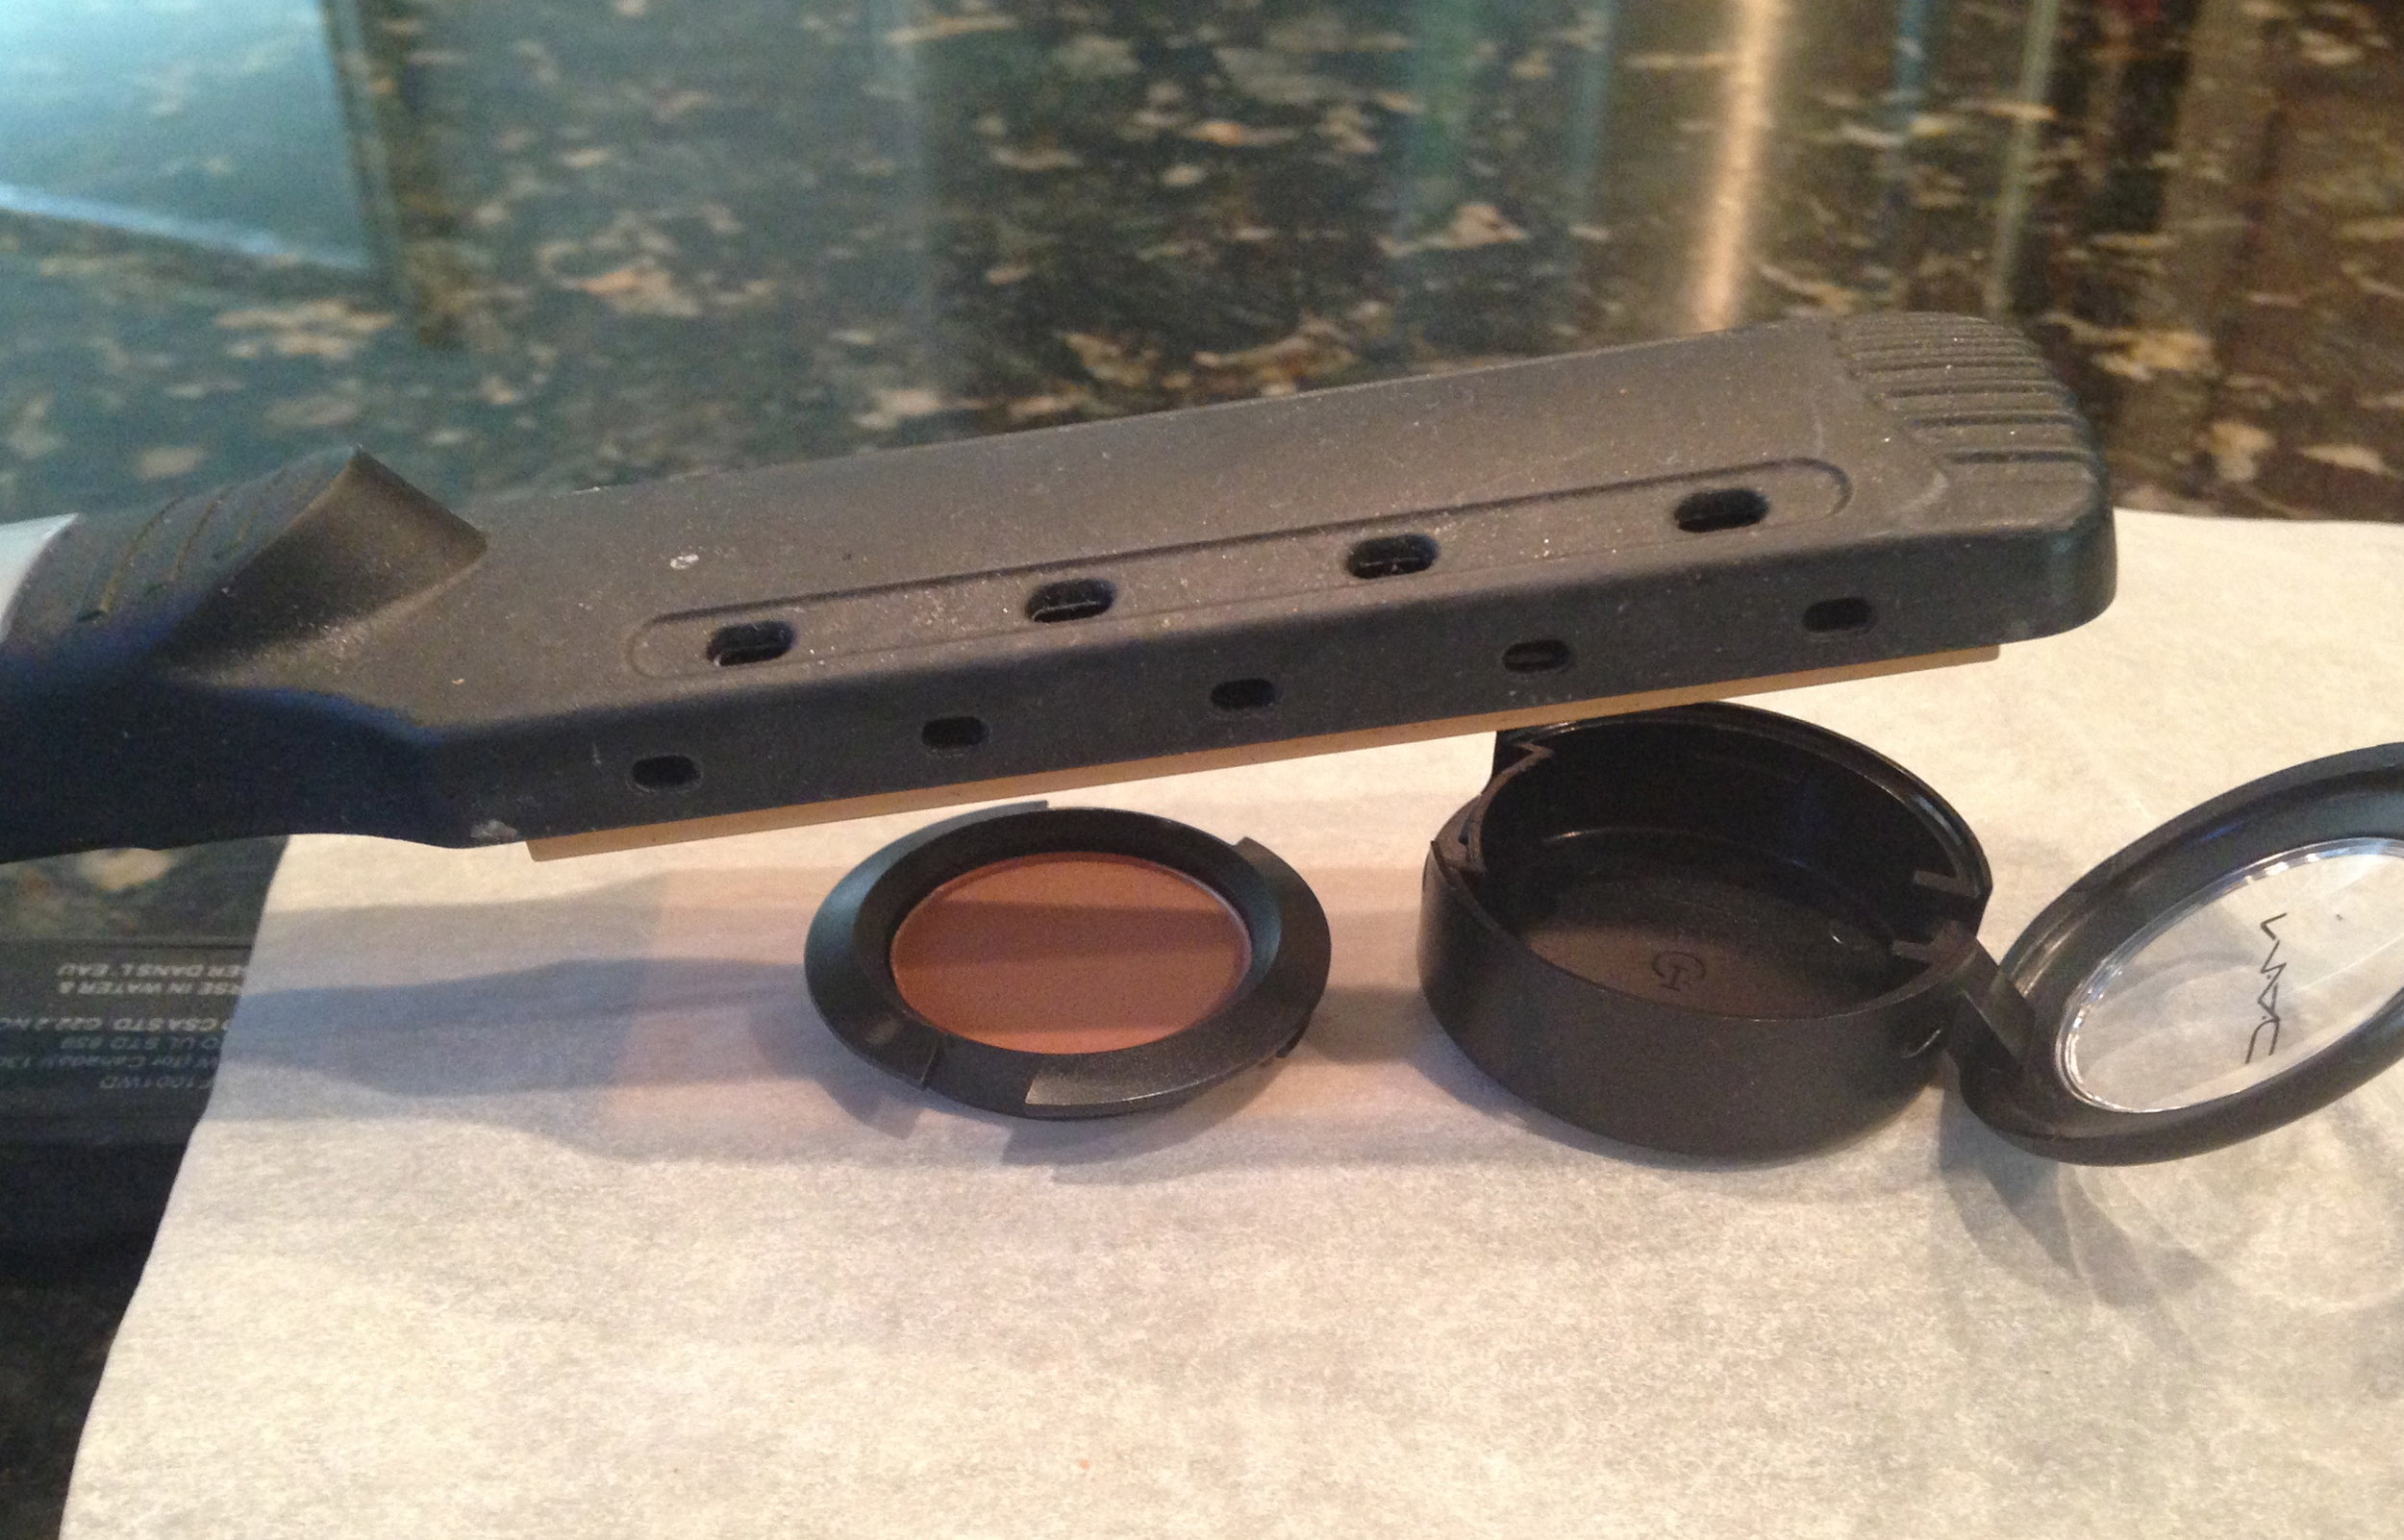
Step One: I used a cheap IKEA knife to CAREFULLY pop the pan out of the packaging. The seam is hard to see at first. Be careful not to accidentally throw your shadow across the room!

- EEEEK: don't shoot your eye out, kid!
Here's what the pieces look like separated:
 Step 2: Place the parchment paper over the flat iron (or other comparable heat source) Mine was set on 145 degrees, which is about MEDIUM. Place the pieces onto the paper so the heat can start to soften the glue (as pictured here)
- Too Hot to Hold: be careful, now!
Step 3: After about a minute or so, remove the lower packaging from the heat. The label's adhesive will now be soft, so you can easily remove it. Set it aside.

- Yes, I label EVERYTHING
 Step 4: After about another minute or two, you can carefully remove the shadow pan from the heat. Very CAREFULLY wiggle your x-acto blade between the pan and the plastic. The glue should be soft, and the pan should come out easily. If not, give it another minute or so on the iron.

- God bless the label-maker.
Step 5: Be careful not to burn yourself, the metal is hot when it first comes out of the packaging. After a brief cool-down, clean the old adhesive off of back of the pan (when it's still a little warm is the easiest!) with your rubbing alcohol. You are now ready to apply your magnet.

- Don't Burn, baby, burn: (let the metal cool for a sec before touching it!)
I found these pre-cut adhesive magnets in the craft section at Hobby Lobby:
 Step 6: Almost there! Put that little magnet on the back of your pan. By the way, check to see if your empty palette is just plain metal, or if it's already magnetized... you could possibly skip this step!

- WAIT for it.......!!!
Step 7: Seems a little overkill-ish, but you'll be happy when you run out of that color and want to get more!! Apply your label onto the back of the magnet. There should be enough left-over adhesive on there to stick it right on.

- Awwwww, Label and Magnet: a match made in heaven.
Woooo-hoooo! Now you can pop those pans into your palette and hit the road! Want to know how to make your palette look like mine? Check out my post on cracking your palette here!

- Pop those pans into your palette and hit the road!
- By the way: I learned this trick via you-tube vids. Petrilude's vid is BY FAR my favorite one out there! Click on his name above for the link to his video^ if you'd like to watch this in action!